
Alright folks, let’s dive right into how I tackled personalizing my trophies this week. Been staring at these plain awards feeling they needed that special touch, you know? Just couldn’t find engraving options out there that felt right or weren’t crazy expensive.
The Blank Trophy Dilemma
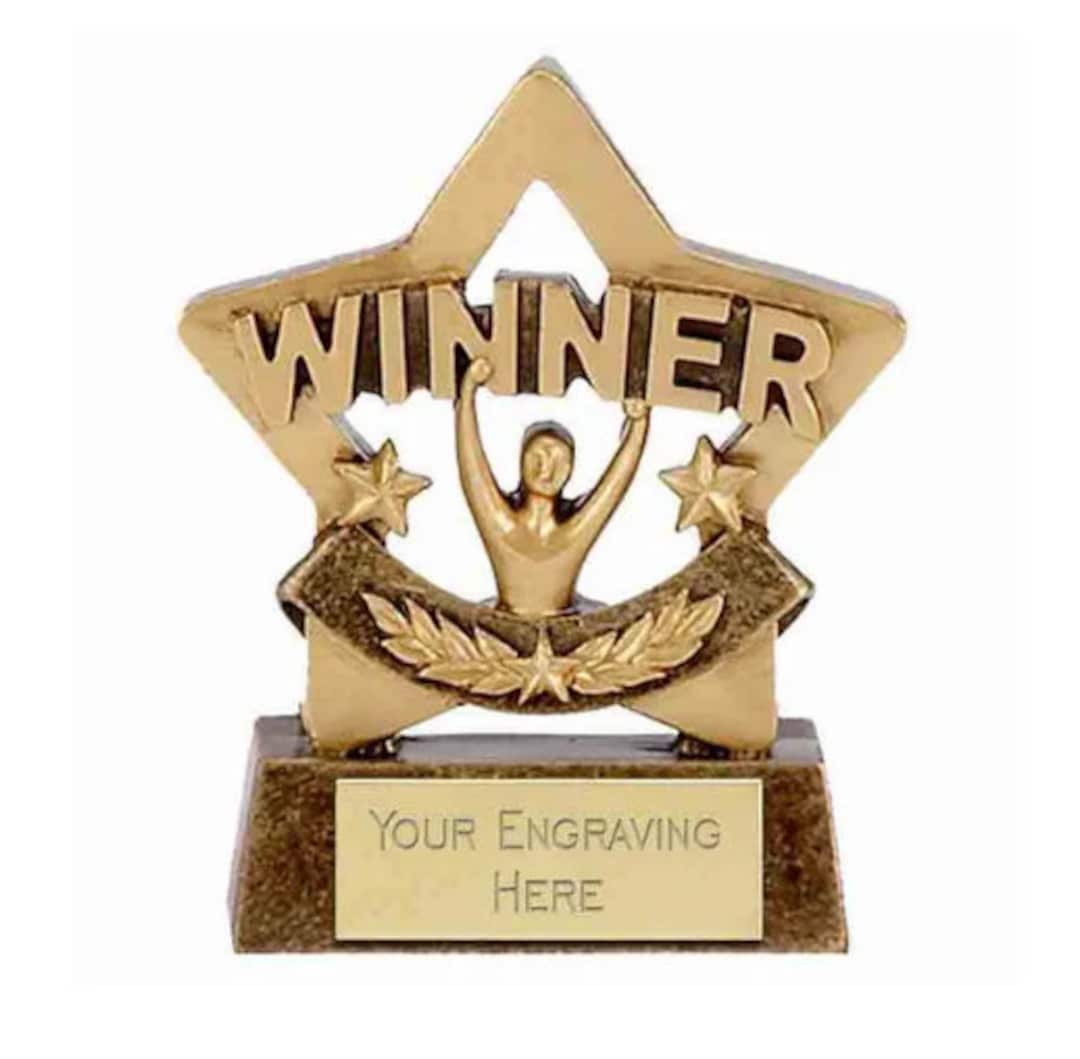
Started simple: holding up that first blank trophy base. Felt weirdly impersonal. Knew laser engraving shops existed, but honestly? Seemed overkill for my little home project trophies. Plus, the quotes I got online… yikes. Not happening.
First Attempt: The Disappearing Ink Debacle
Grabbed a permanent marker first. Wrote “Champion” in big, proud letters right on the base. Looked decent… for about ten minutes. Then I accidentally wiped it with my thumb while handling it. Yeah. Just smeared into a blurry, embarrassing mess. Felt like a total goof. Lesson learned: markers are not friends of trophy bases.
Round Two: Sticker Shock
Okay, plan B: professional-looking letter stickers. Found some nice metallic gold ones at the craft store. Carefully placed each letter. Looked slick! Real proud moment. Showed my partner… who gently touched one. Corner peeled right up. My heart sank. Knew humidity or even dust would wreck these eventually. Nope. Too flimsy.
The Power Tool Revelation
Frustration mounting. Dug out my old handheld rotary tool – the cheap one. Attached a tiny engraving bit I found buried in the bottom of the toolbox. Took a deep breath and hovered it over a scrap piece of wood first. Braced myself… pressed the trigger. The noise! The vibration! Nearly dropped it. Messed up the scrap wood good, scratching deep, ugly lines everywhere. Practice desperately needed.
Practice Pays Off (Mostly)
Spent the next hour just doodling on that scrap wood. Circles. Lines. My initials. Got a little control over the shaking hand syndrome. Figured out slow and steady pressure works way better than trying to force it. Still wobbled, still made uneven grooves, but improving.
Taking the Plunge on the Trophy
Finally felt brave enough. Chose a small, simple trophy cup – my least favorite, ha! Cleaned the base spotlessly with rubbing alcohol. Drew the name “A. Smith” very lightly with a pencil. Switched the rotary tool to its slowest speed. Started tracing the pencil marks, barely breathing. The sound of metal biting into metal is intense! Focused hard:
- Gentle pressure.
- Follow the lines.
- Don’t stop midway!
Took forever. Hand cramped. But… it worked! Deep, clear grooves spelling out the name. Super rough edges, sure. One letter looked like it had a stutter. But hey, it was engraved!
Going Fancy (And Messing Up)
Emboldened, I tried a small star design next to the name on a different trophy. Freehand this time. Disaster. The tool skipped, scratching a huge gash right across the trophy’s base. Looked terrible. Wiped it furiously. Lesson hammered home: intricate stuff needs guides. Maybe stencils next time.
The Final Verdict?
Is it perfect? Heck no. Is it fancy? Not unless you think wobbly lines are art. But is it personal? Absolutely. That name carved by my own (shaky) hand? Means way more to me than some factory laser job. Cheap rotary tool plus patience equals unique, one-of-a-kind trophies. No way around the learning curve though – your first tries will look homemade. Embrace the imperfections, that’s part of the charm!