
The Shocking Quote That Started This DIY Mess
Look, I’m not an architect. I’m just a guy who wanted a pool in his backyard without taking out a second mortgage. When I first started getting quotes for the total pool project, the excavation, the plumbing, the gunite—all that dirty work—it was expensive, sure, but the numbers mostly made sense. What absolutely blew my mind was the cost of the paperwork.
I called three different pool contractors, the big guys in town. They all budgeted the actual construction parts similarly, but every single one of them slapped on a mandatory line item: “Engineering and Permitting Package.” I saw numbers ranging from $6,500 to a whopping $9,000. Nine grand! For drawings! I asked one contractor straight up what that price covered. He gave me this hazy answer about liability, seals, and making sure the county didn’t reject the whole thing.
That sealed the deal for me right there. I realized I was paying thousands of dollars for someone to translate simple measurements into a format the local government would accept. I figured the county inspectors aren’t looking for works of art; they’re looking for compliance. They want to know where the water line is, how far back the pool sits from the property line, and that the hole won’t fall apart. I decided I was going to draw my own damned plans.
Wading Through the Zoning Mud
My first step wasn’t drawing anything; it was reading the city code. Man, let me tell you, that was the hardest part of the entire pool build. I spent three solid weekends deciphering the cryptic language of the Planning and Zoning Department website. I had to understand setback rules—how many feet away from the fence, how far from the house, and what kind of drainage slope was mandatory.
I swear, the county writes their rules not to inform the average homeowner, but specifically to ensure only licensed professionals can navigate the system. It’s a subtle form of job security disguised as regulation. I was trying to make sense of jargon about F.A.R.s (Floor Area Ratios, which somehow dictated my pool deck size?) and calculating impervious surface percentages. It felt like I was back in college taking a pointless math class.
I kept hitting walls, calling the planning office, and getting quoted chapter and verse instead of a straight answer. This phase was exhausting, but it was necessary. I needed to know the rules cold before I even put pen to paper.
Finding the Cheat Sheet: Simple Templates Save the Day
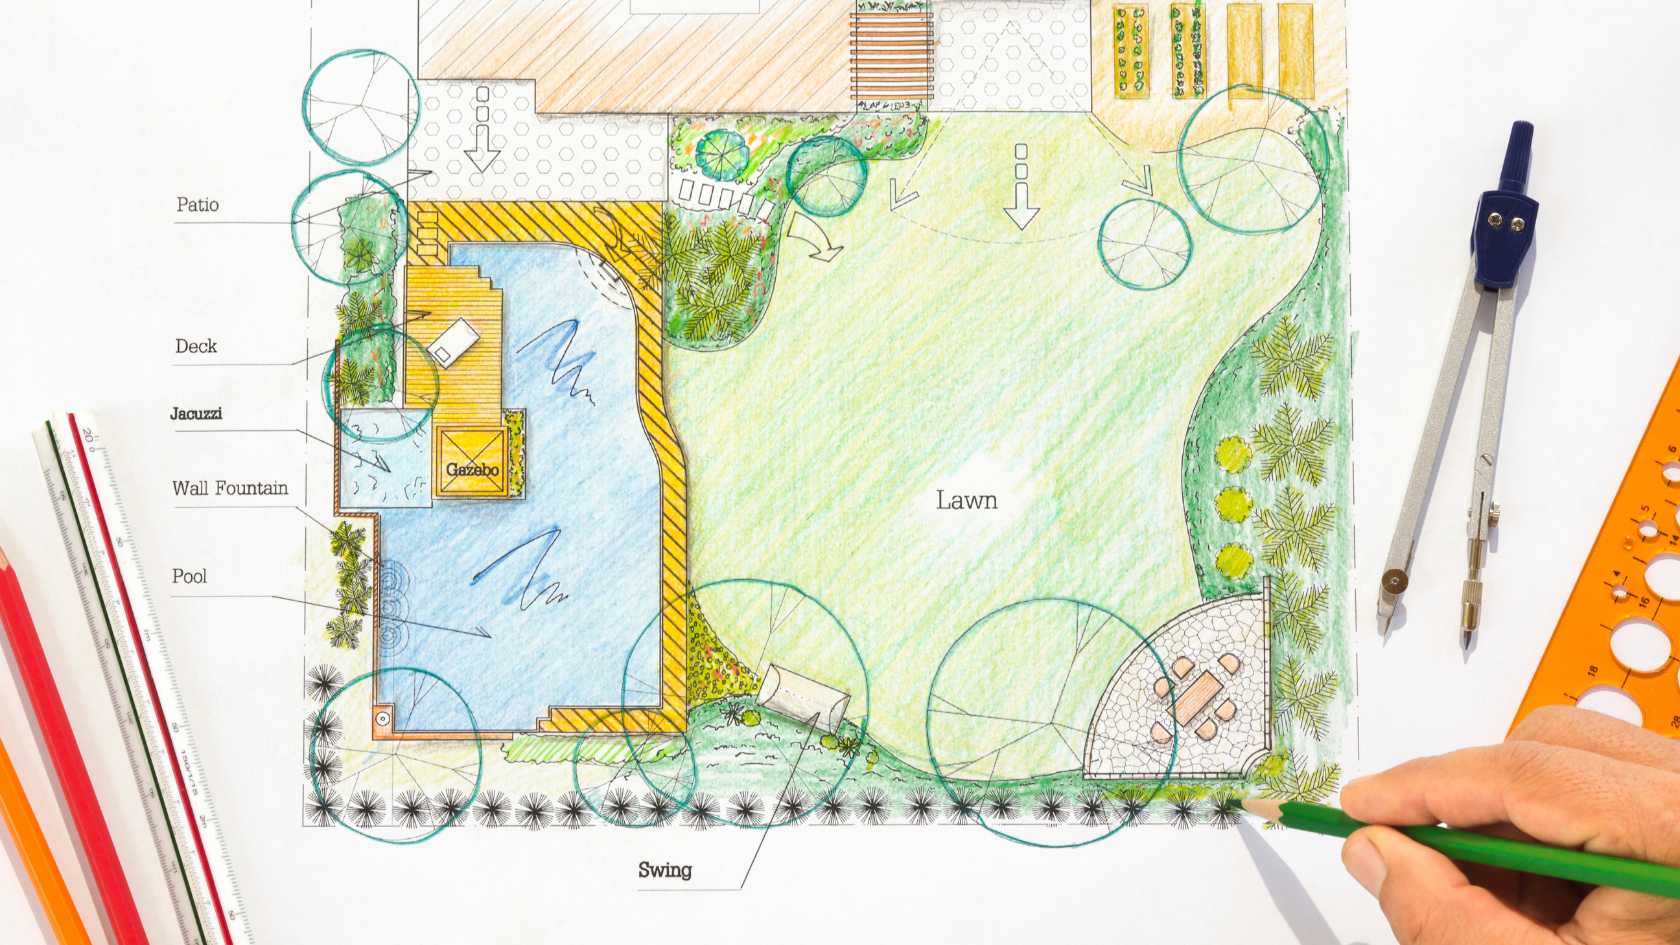
I quickly realized I didn’t need fancy $5,000 CAD software. I needed a simple format that the city inspectors recognized instantly. I started hunting online and, for about sixty bucks, I found a residential template pack designed specifically for this kind of submission. These weren’t beautiful architectural prints; they were basically fill-in-the-blank layouts showing property lines, easements, and standard designations for pool dimensions.
I immediately pulled out the long tape measure and started mapping my entire backyard. I anchored every measurement to the house corners, located the existing sewer lines (a massive requirement!), and carefully marked the property boundary stakes. I first sketched everything out roughly on graph paper, making sure the pool shape and size fit comfortably within the mandatory setback limits I had just spent weeks trying to understand.
The Drafting Process: Compliance Over Beauty
For the final drawings, I didn’t use anything complicated. I used a simple, free online drawing tool—the kind you might use for basic floor plans—and imported the template background. This allowed me to keep everything geometrically accurate without needing a degree in drafting.
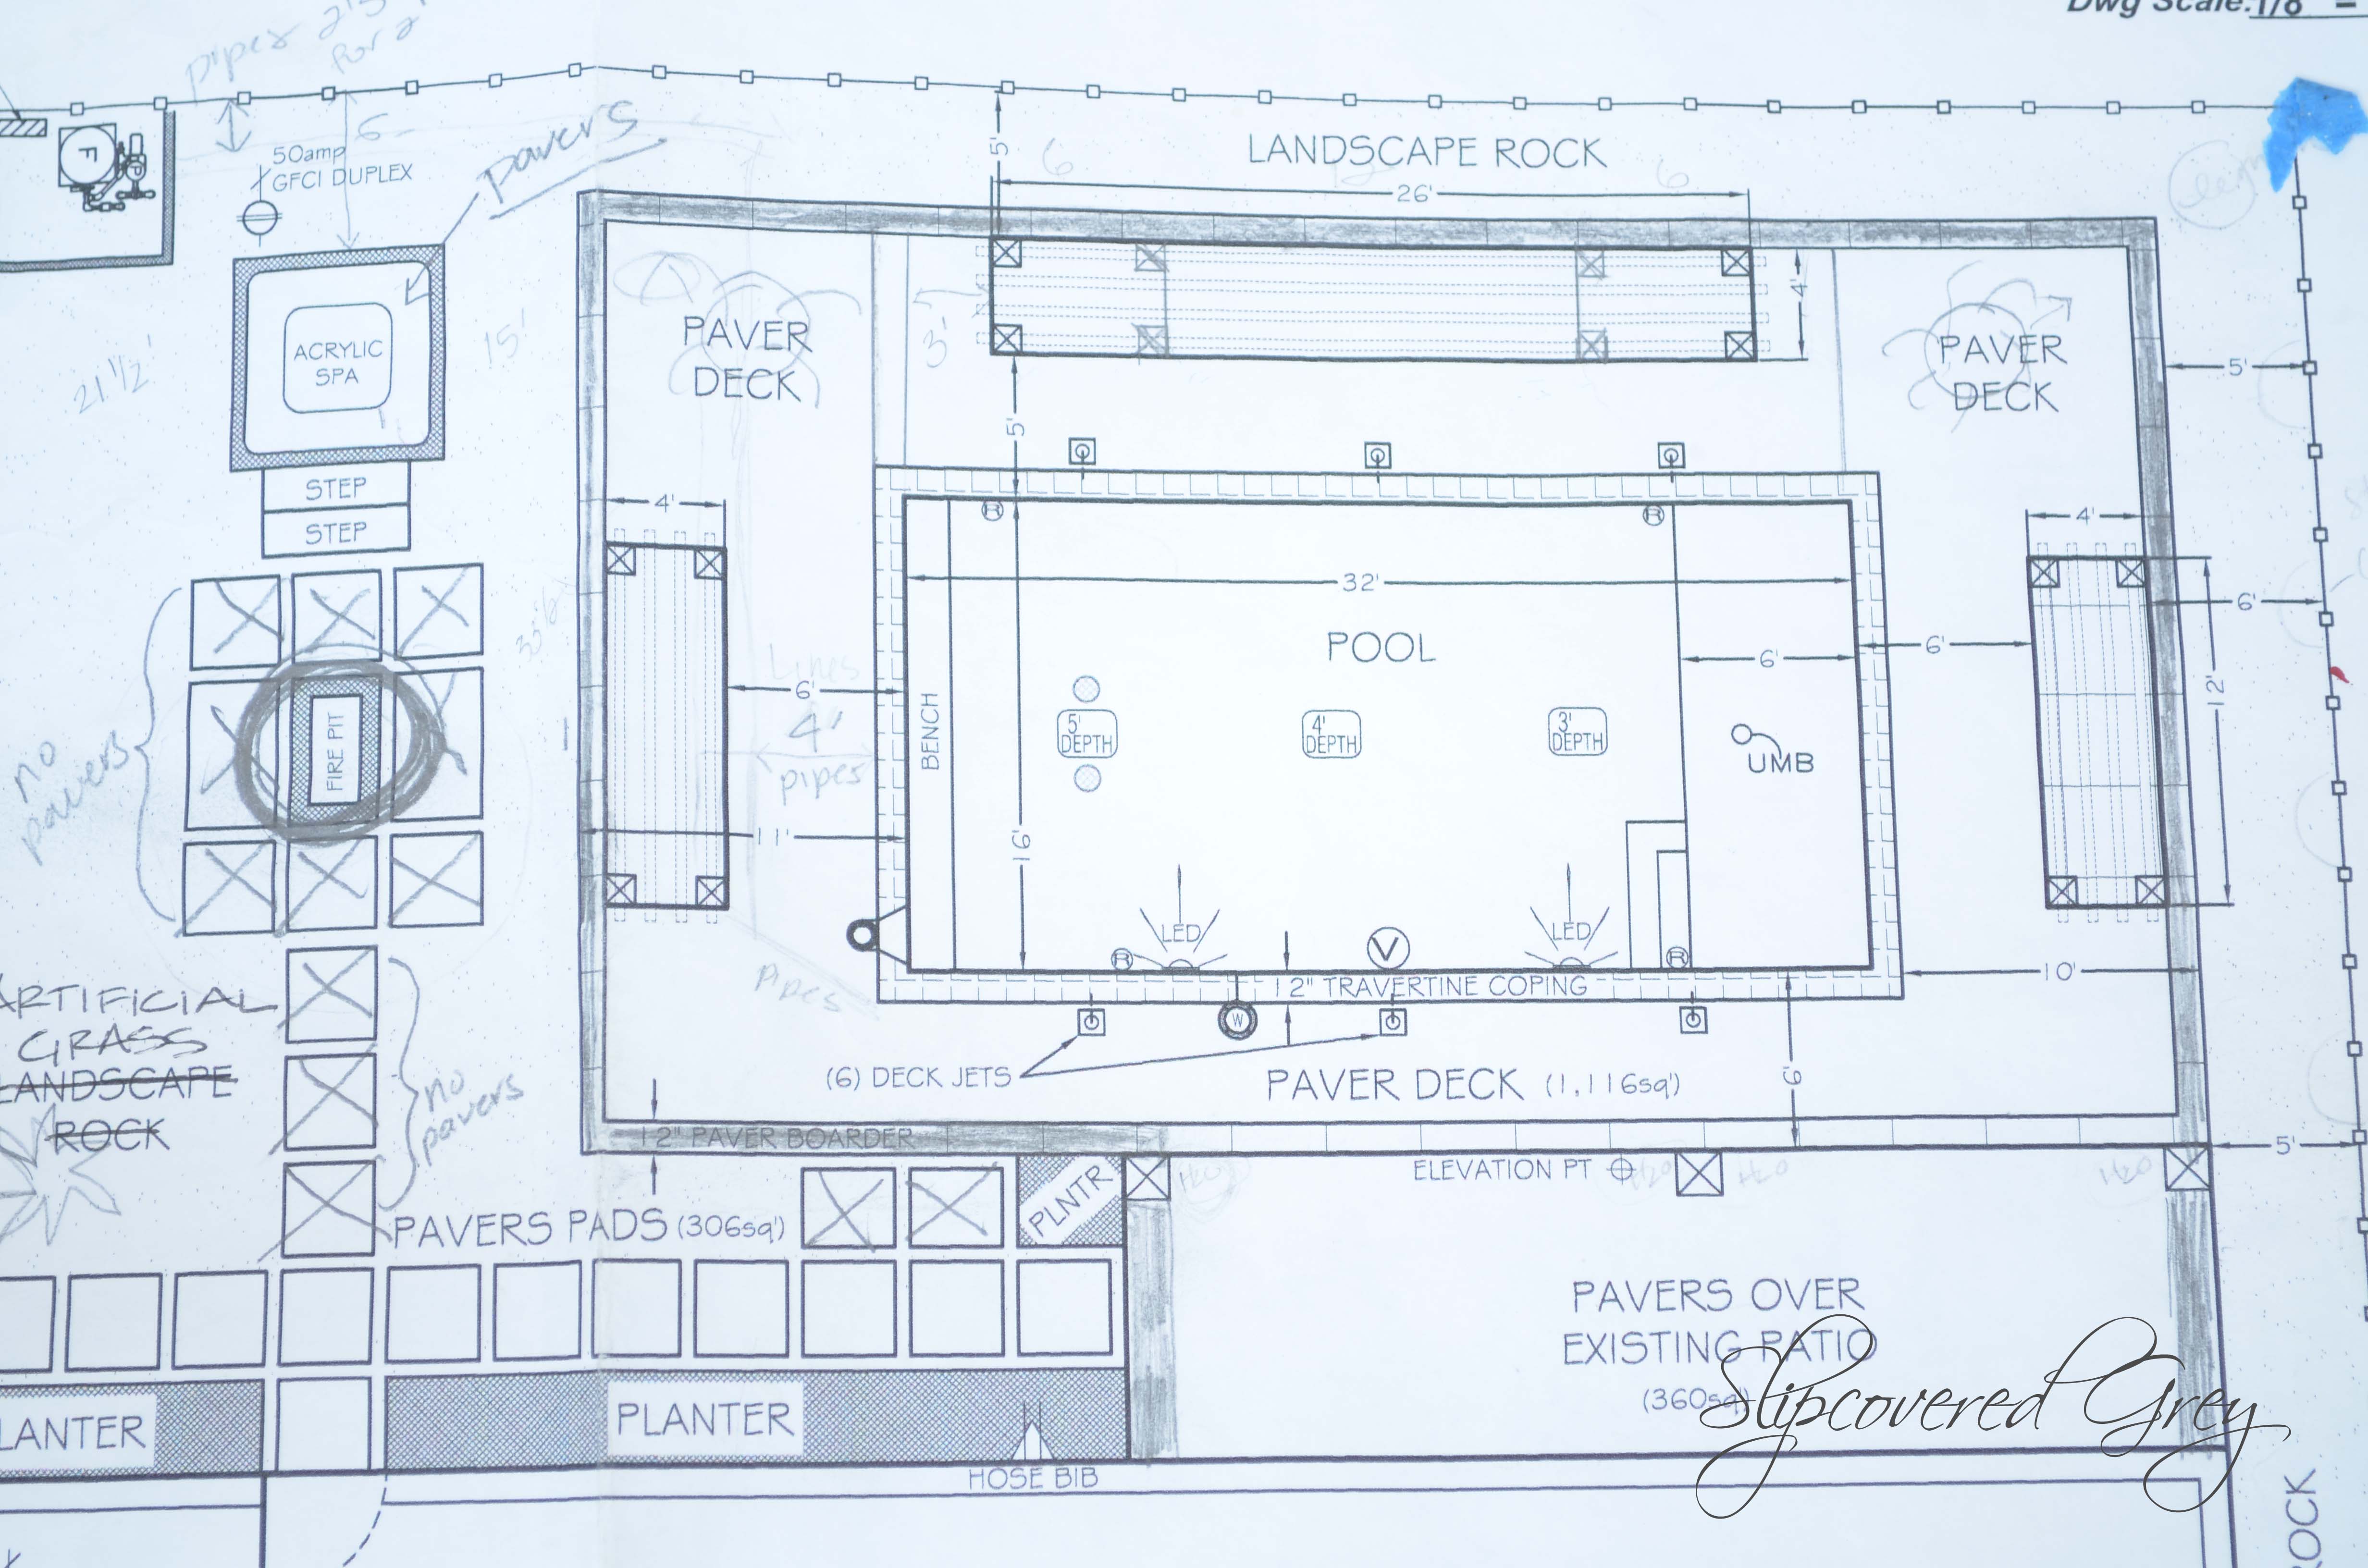
I meticulously copied my measurements over onto the layout. The key was labeling everything. Every distance from the pool edge to the fence, the exact height of the proposed decking, the water depth markers, and the location of the pool equipment (the pump and filter). The inspectors don’t care about colors or shading; they care about clear, numbered compliance. I probably spent twenty-five hours total just checking and double-checking the measurements against the zoning ordinances.
I generated eight separate sheets: a site plan, drainage elevations, a cross-section showing depth, and safety feature locations (like the mandated alarm positions). I printed them out, folded them neatly, and submitted the stack to the building department counter. I walked in there ready for them to laugh at my amateur work.
The Kickback and the Victory
They didn’t laugh. They took the plans and gave me a receipt. A week later, I got a call. They hadn’t rejected the whole package, which was huge. They just needed two minor corrections. First, my elevation drawings were a bit confusing; they wanted clearer lines showing the exact drainage slope away from the pool edge. Second, I had mislabeled the required depth of the crushed stone base layer under the decking.
I went home, fixed those two small things in about two hours, printed the revised sheets, and marched them back in. The inspector signed off on the revisions right there. Two days after that, I got the official permit stamp. My amateur drawings were officially approved.
Was it a smooth process? Absolutely not. Did I spend 50 hours of my life fighting bureaucracy and drawing straight lines? Yes. But I completely bypassed that $6,500 to $9,000 architectural fee. My total cost for the plans was $60 for the template pack and maybe $50 for printing and paper. That saved money didn’t just pay for the expensive pool fence; it bought me the entire outdoor kitchen setup. If you are willing to learn the local rules and stick rigidly to standardized templates, you can absolutely do this and stick it to the expensive experts.