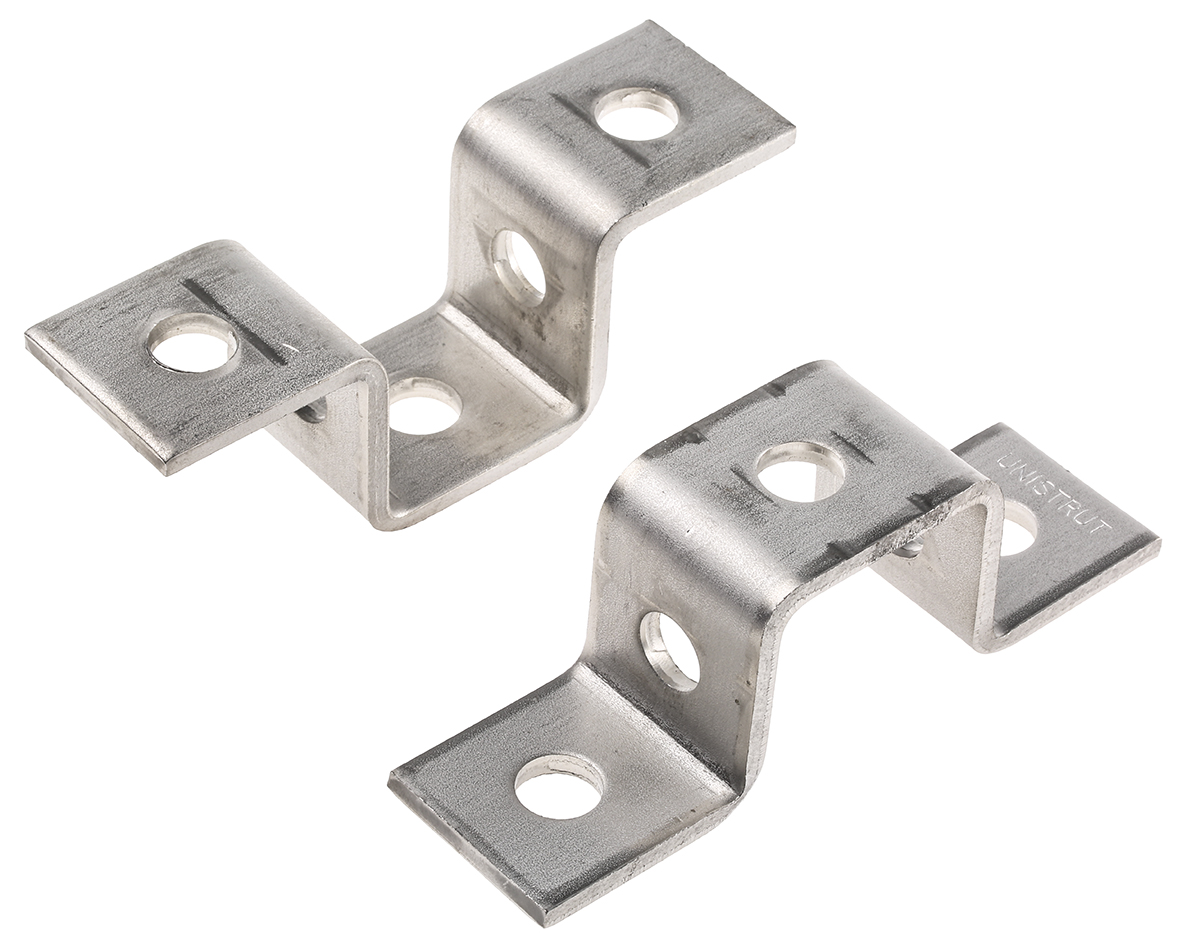
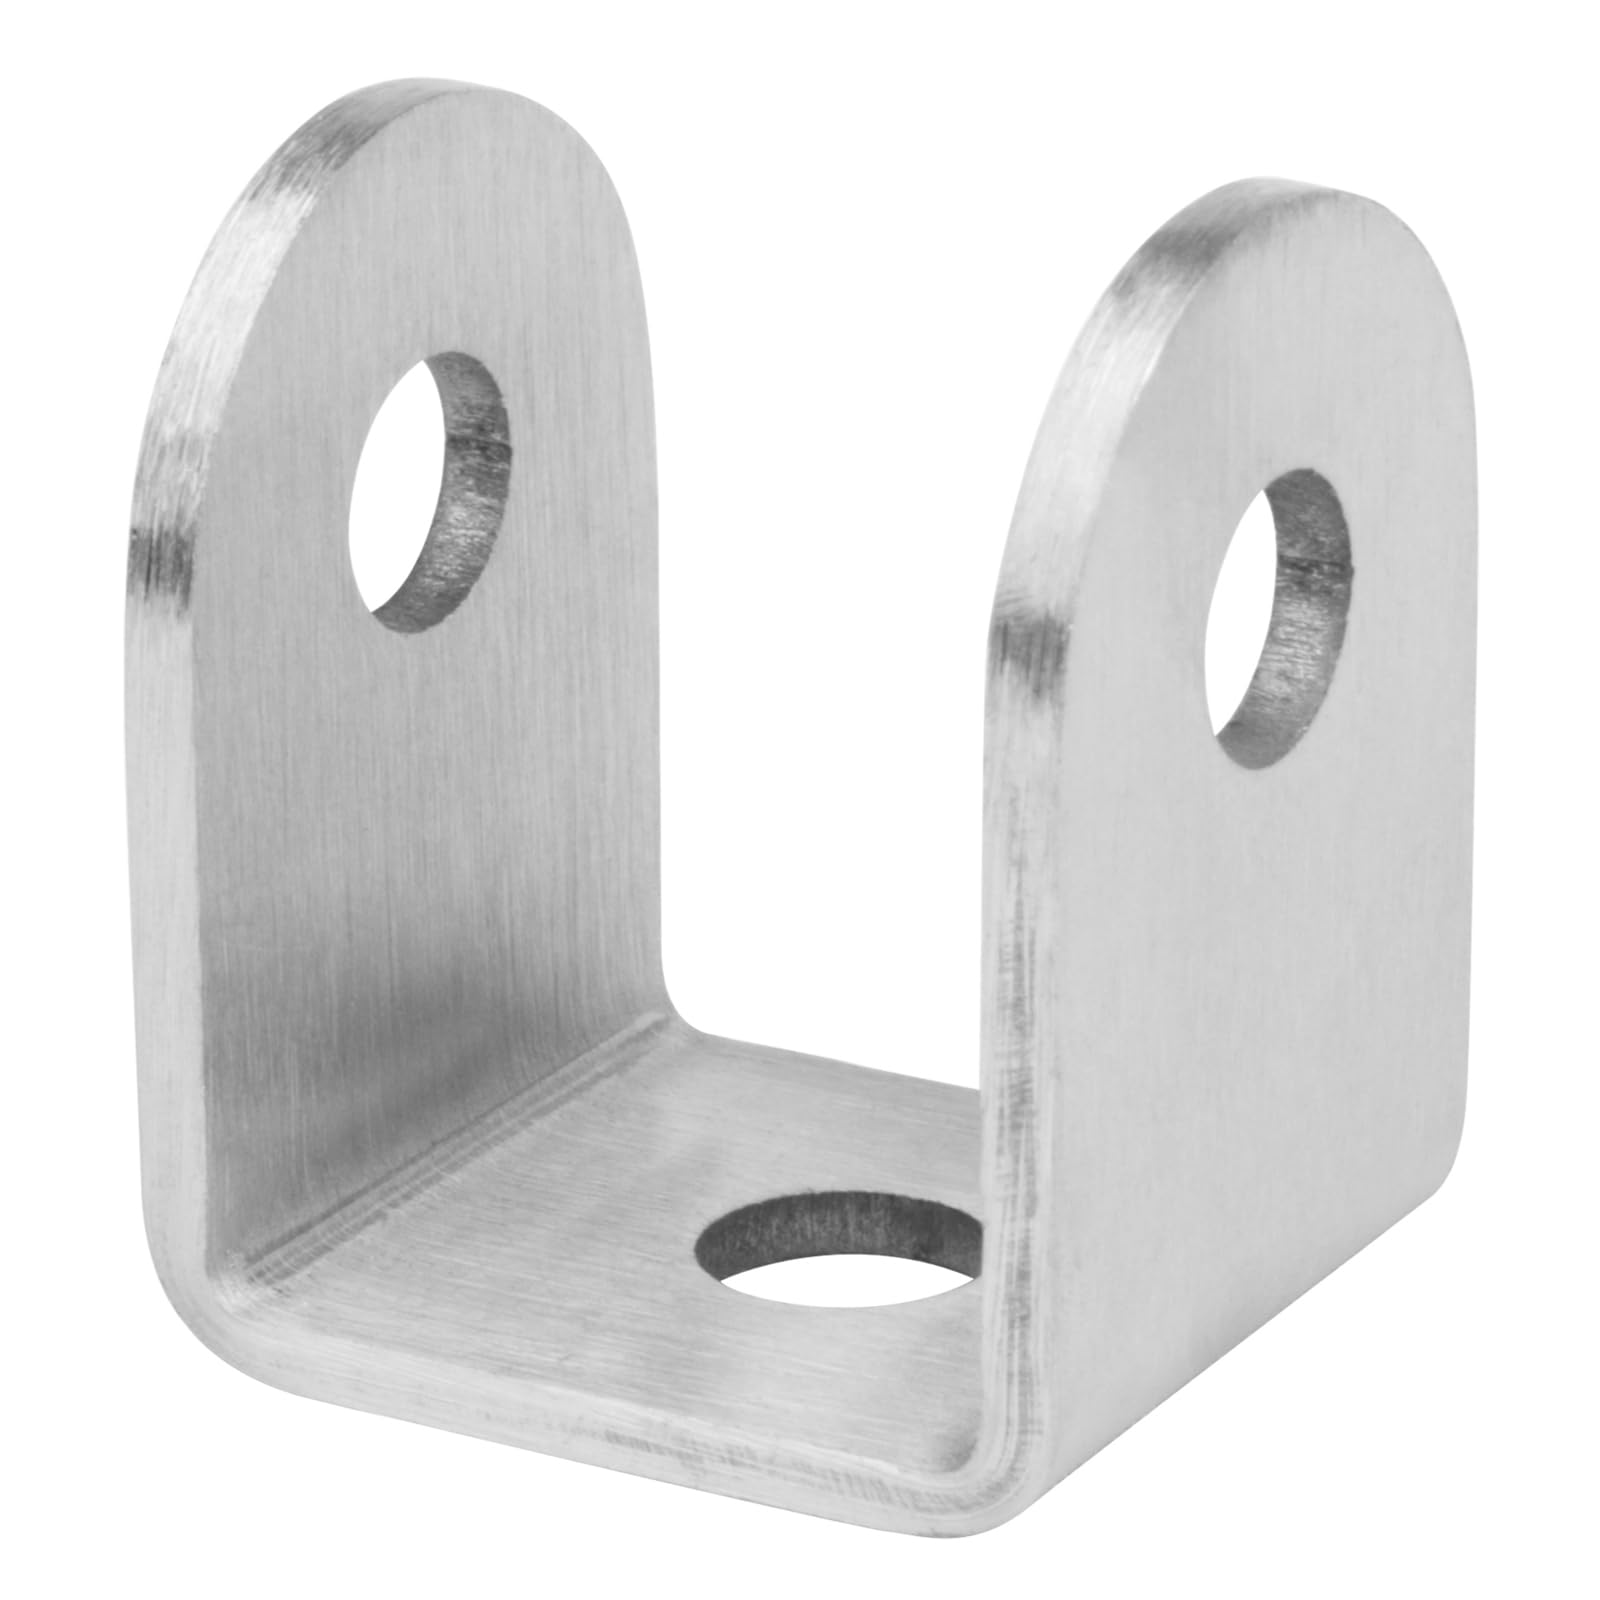
So I was in the garage the other day looking at my workbench and realized it was a total mess. All my power tools were just laying around, cords tangled up, and I kept knocking stuff over. I figured I needed some kind of simple bracket to hang them on the wall, something like a U shape. That’s how the “U bracket” project started.

Getting Started and Figuring it Out
First thing I did was grab a piece of scrap wood I had lying around. It was an old piece of pine, not too thick, maybe an inch thick. I didn’t want to buy anything new if I could help it. I measured the base of my heaviest drill, just to get a rough idea of how wide the “U” should be. I sketched a real basic shape right on the wood with a pencil. Nothing fancy, just a U with some flat parts on top for screwing into the wall.
Then I went to my basic tools. I don’t have a fancy workshop, just a handheld jigsaw. I clamped the wood down to the bench and started cutting along my pencil lines. The cut was kinda wobbly at first, I’ll be honest. The jigsaw blade wandered a bit. So I had to go slow and really focus on following the line. After I cut the basic shape, the edges were super rough. I spent a good amount of time with a sanding block, just smoothing everything out. Rounding the corners so it wouldn’t snag on anything.
Testing and Making it Better
I held the first bracket up to the wall and put my drill in it. It held, but it felt a little flimsy. The wood seemed to flex more than I liked. I knew if I put a heavier tool in there, it might just snap. So I went back to the scrap pile and found a thicker, denser piece of wood. I think it was a cut-off from an old oak shelf. Much stronger.
I traced the shape of my first bracket onto this new piece, but I made the “U” part a little deeper this time. I figured a deeper hook would hold things more securely. I repeated the whole process: jigsaw, then a lot of sanding. This time the cutting was harder because the wood was tougher, but the end result felt solid. I also drilled two pilot holes in the top flat part for screws. I didn’t want the wood to split when I mounted it.
Putting it to Work
Finally, I took the bracket to the wall, held it level, and screwed it right into a stud. I gave it a good tug to make sure it was secure. Then I hung up my drill. It worked perfectly. It sat there nice and snug, not wobbling at all. The tool was off my bench and organized.

I ended up making a few more of these brackets in different sizes for my other tools—my circular saw, my angle grinder. Now my wall looks organized and my workbench is clear. It’s a small thing, but it feels good to build something useful with just some scrap wood and basic tools. No complicated plans, just figuring it out as I went along.
