Look, I spent years thinking the top FPL managers were just suckers, right? They’d always load up on the most expensive guys, the ones everyone else had. I figured that was just safe, boring play. I was going to be the smart guy who found the mid-priced gems, saved that cash, and had a bench full of firepower. I genuinely believed that transfer cost—the player’s price tag—was a load of nonsense designed to fleece the casual player.

I committed to proving this. I set up my squad for the first ten gameweeks with a specific rule: never buy anyone priced over 11.0m if I could find a 7.5m alternative who looked decent. My goal wasn’t just to score well; it was to keep my Team Value high by avoiding the pricey crowd and making strategic, cheap swaps when needed. I documented everything. Every transfer, every price rise, every pound I saved versus the “template” managers.
The Practice: Chasing Pennies, Burning Transfers
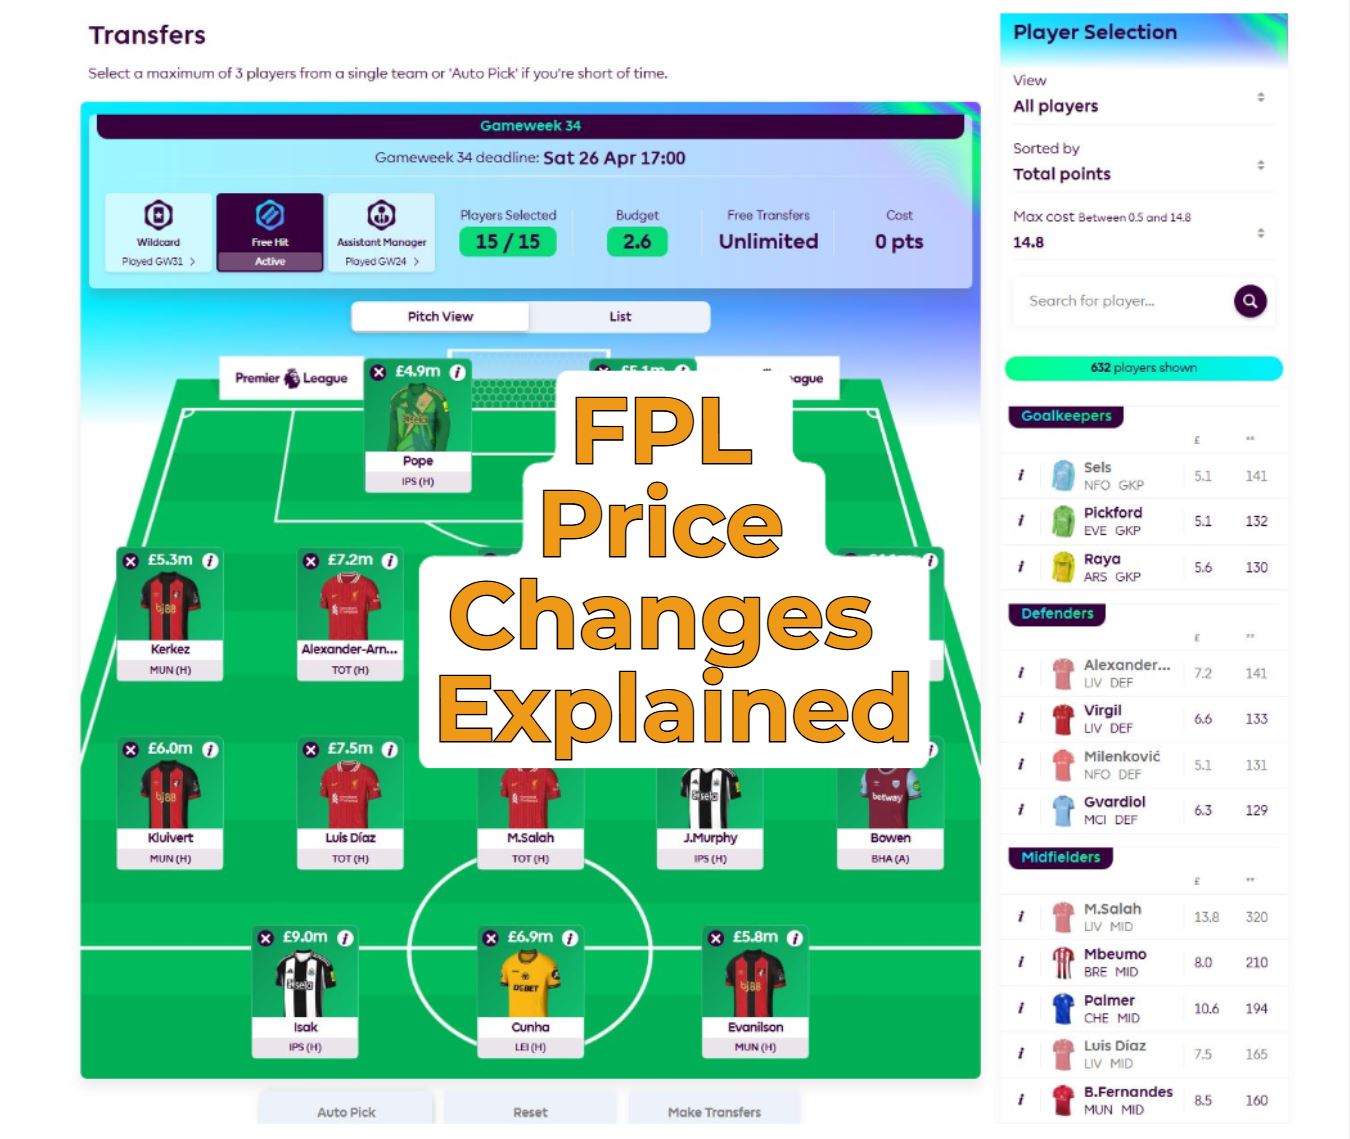
My initial starting eleven looked great on paper. I had a defense packed with 4.5m flyers and a midfield full of guys in the 7.0m to 8.5m bracket. I had about 10m sitting unused compared to the managers who went straight for the big names. I felt invincible. I was already winning the budget battle.
Then the real season hit.
What I learned fast, and what drove me absolutely nuts, was that the reliable, expensive guys—the 12.0m forwards and the 13.0m midfielders—were scoring consistently. They weren’t just scoring big; they were scoring predictably. Every week, they guaranteed 6 to 10 points, maybe a huge haul. They were anchors.
My guys? My brilliant 7.5m picks? They were volatile. They’d score 15 points one week, then 2 points for the next four weeks straight. This forced me into a constant state of panic and reaction.

- I saved 4.0m upfront, but my cheap forward blanked four weeks in a row, forcing me to use a transfer.
- I saved 3.0m in midfield, only for my supposed ‘gem’ to get injured, forcing an immediate, unplanned transfer.
- The expensive players held their value, rarely dipping, making them easy to trade out if absolutely necessary. My cheap guys dropped like stones the second they stopped scoring, meaning if I tried to sell them later, I lost cash.
I was constantly making transfers just to fix the problems created by my budget choices. My spreadsheet analysis showed I used 11 transfers in the first 8 weeks, taking 3 hits total. The guys who swallowed hard and bought the expensive anchors? They used maybe 4 or 5 transfers total, rolling them often. They were using their limited resource—the transfer—to make strategic upgrades or deal with genuine emergencies. I was using mine just to tread water.
The Hard Truth: Price is About Reliability, Not Budget Saving
The whole exercise hammered home the simple truth:
Price matters because it buys you transfer flexibility.
You aren’t paying 12.5m for a player’s ceiling; you are paying it for his floor. You are paying for the statistical likelihood that he will perform every week, allowing you to focus your attention (and your precious single free transfer) on the cheap, volatile defense or the fifth midfielder spot.
When you resist the high price, you don’t save money; you create vacancies in your team that demand constant maintenance and costly transfers. Every transfer you use to fix a cheap mistake is a transfer you can’t use to attack a fixture swing or bring in the next breakout star.

I finally conceded defeat, took the necessary hits, and rearranged my team to incorporate two ultra-premium anchors. Suddenly, my transfer activity dropped to zero for three straight weeks. The whole dynamic shifted. I realized the best FPL strategy is about minimizing transfers, and expensive players are the key mechanism for achieving that stability.
So Why Did I Dive This Deep Into Spreadsheets?
You might be asking why I dedicated two months of my life to meticulously tracking transfer activity versus player price just to prove something that feels obvious in hindsight.
It’s simple. I had the time. Too much time, actually.
I was working at this big tech firm, right? The boss, a guy who ran the whole regional division, was obsessed with making us look busy, even if we weren’t productive. He told us we needed to come in early, leave late, and basically live at the office. One day, he catches me leaving at 5:01 PM sharp, despite having finished all my assigned tasks hours earlier. He pulled me into his office and screamed at me about “commitment” and “dedication to the corporate mission.”
The very next week, the company announced a massive round of layoffs. Guess who was the first one out the door? Me. The guy who was “lacking commitment.” They fired me for leaving one minute past the expected quitting time, and then replaced my role with three new guys two months later.

It threw me into a spiral. I felt completely burned by the whole corporate structure. I contested the firing, it got messy, and I ended up sitting at home for four months waiting for the settlement check while legally prohibited from starting a new job (non-compete clause mess).
Four months of sitting at home, zero income, high stress, and nothing to do but obsess over data. I needed something I could control, something where inefficiency was ruthlessly punished. FPL was it. That’s when I started analyzing every little variable, trying to prove I was smarter than the system. And that’s how I ended up with 50 pages of transfer data proving that, in FPL, you absolutely get what you pay for, especially if you want to keep your sanity and your transfers intact.
