
Man, let me tell you, if you live around Sydney or anywhere else in NSW, you know how brutal the sun is. My backyard? It was a disaster zone. Weeds, patchy brown dirt, and basically a dust bowl every time the kids ran across it. It looked terrible after the last scorcher of a summer. I kept saying I’d fix it, but you know how these projects go. They sit on the list forever. Finally, the wife gave me the look and I knew it was time. I had to bite the bullet and rip the whole thing out to start fresh.
I decided to document the whole thing because every guide online makes it sound easy. It’s not. It’s brutal, back-breaking work, but the results are fantastic if you just stick to the process. I went with Sir Walter Buffalo turf because everyone told me it handles the heat and shade mix we have better than the couch grass did previously.
Phase One: Demo and Digging – You Can’t Rush the Foundation
Listen up, this is where you can’t cheap out or rush. If your ground is rubbish, your new grass will die, simple as that. The prep work is easily 80% of the entire job. I learned this the hard way years ago trying to patch a small section, and the patch just turned into the same dry mess within a month. This time, I went scorched earth.
- Kill Everything: I sprayed glysophate (the heavy-duty weed killer stuff) two weeks before I even started digging. You want the old stuff completely dead. Wait until it’s yellow and crunchy. Don’t start until it’s truly toast.
- The Concrete Soil: My soil was basically Sydney clay, hard as a rock. Trying to dig that with a shovel felt impossible. I ended up hiring a rotary hoe for a day. That thing saved my back, churning up the top 200mm of dead weeds and old, compacted soil.
- Digging Down and Dumping: We dug down about 150mm total. It was exhausting. Don’t underestimate how much soil you need to remove. We had a massive skip bin just for dirt and rubbish, and we filled it fast.
Phase Two: Levelling and Feeding the Ground
Once the base was clean and cleared of rocks, I realized the yard was much more uneven than I thought. This step is critical because any dips or bumps now will become drainage nightmares and tripping hazards later.
I ordered 10 cubic meters of high-quality under-turf mix. Not just plain sand, but the special blend with nutrients specifically designed to help the roots take hold. Don’t skimp on this soil. It’s the new life source for the turf.
- Spreading the Soil: We wheelbarrowed the soil into the area, trying to get it roughly level.
- The Screed Board Trick: The real key to perfection is using a long, straight plank of wood—a screed board. You drag this across the whole area to shave off the high spots and push the soil into the low spots. Do this multiple times. I used a heavy roller (empty at this point) to firm it up slightly, then went over it again with the board.
- Pre-Wet: Once it was perfect, I hit the area lightly with a sprinkler. Just enough to settle the dust, but not so much that it turned back into mud. You need a firm, slightly damp base ready to accept the rolls.
Phase Three: Laying the Rolls – Speed is Your Friend
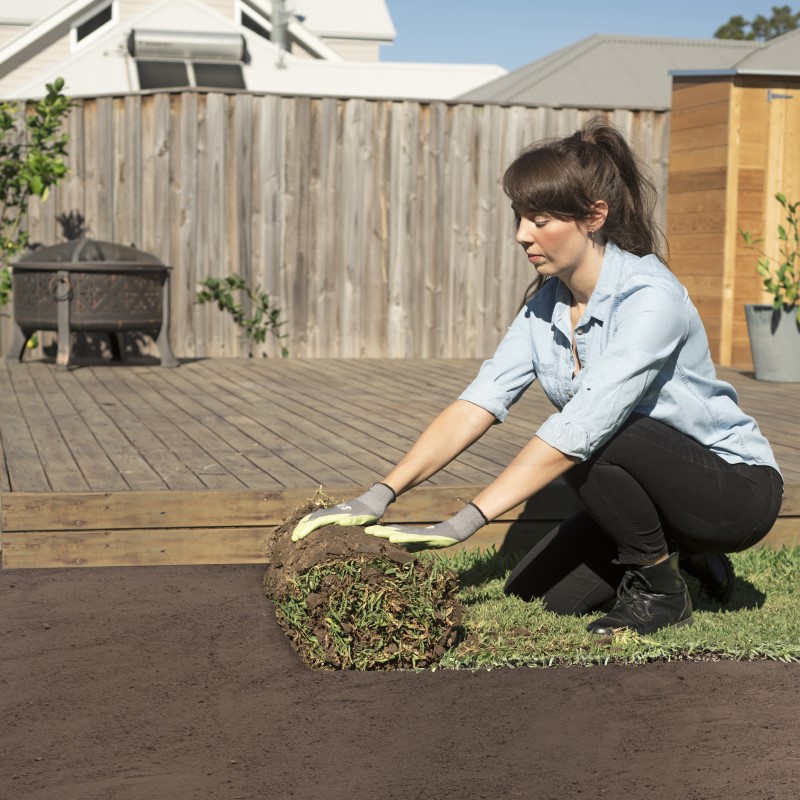
Those turf suppliers, man, they don’t mess around. My 100 square meters arrived at 7 AM on a Thursday, stacked high on pallets. Rule number one: you need to lay that stuff fast. It’s basically cut grass and it starts cooking itself if you leave it rolled up in the NSW heat, even on a cooler day.
I grabbed two mates (bribed with pizza and beer, obviously) and we attacked the pallets immediately. The laying process itself is actually the easiest part, assuming your ground is perfect.
- Start Straight: Pick the longest straight edge (usually the driveway or a main path) and start there. This sets your primary line.
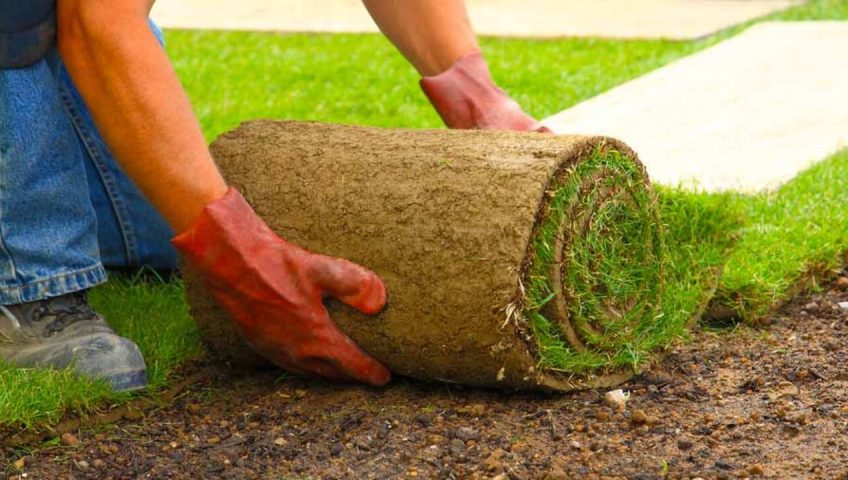
- Stagger the Joints: Don’t line up all the short ends. Stagger the joints like brickwork. This stops ugly lines from appearing when it settles and helps prevent erosion along the seams.
- Push Them Tight: Push the rolls right up against each other. You want zero gaps. If there are small gaps, fill them immediately with some of that under-turf soil mix.
- Work Off Planks: Try to work off the rolled-up grass or planks of wood as you lay the next row. Keep your heavy weight off the newly laid sod until it’s fully rolled.
Phase Four: The Critical Soak and Roll
This is the difference between a thriving lawn and a dead one, especially here. As soon as a section was laid, I grabbed the hose. You need to soak that turf immediately. And I mean SOAK it. The first few hours are crucial. You need the water to penetrate the new turf, the new soil underneath, and even the old soil layer beneath that. I used a sprinkler and ran it for about an hour per zone right after it was laid.
The next thing was rolling. We rented a water-filled lawn roller from the hardware store. This step is non-negotiable. Rolling does two things: it presses the roots firmly into the soil, removing air pockets, and it levels out any little bumps or seams from the rolls. If you skip this, you’ll end up with bumpy, uneven growth and poor root contact.
The Watering Schedule is Everything: For the first 14 days, I treated that lawn like a newborn baby. I was out there three times a day. Seriously. Early morning, mid-day, and late afternoon. Not a light sprinkle either, but a deep soak. If you lift a corner of the turf and the ground underneath is dry, you’re not watering enough. Around day 10, I started pulling gently on the turf pieces. When I couldn’t lift them easily because they had rooted? That was the moment of victory.
It was easily the dirtiest, most back-breaking job I’ve done on the house, but seeing that lush green Buffalo take hold? Worth every sore muscle. Just remember, especially if you’re doing this in NSW, the enemy isn’t weeds right now, it’s dryness. Keep it wet, keep it rolled, and don’t try to mow it until that turf is firmly anchored down. Give it at least three weeks before that first cut.
