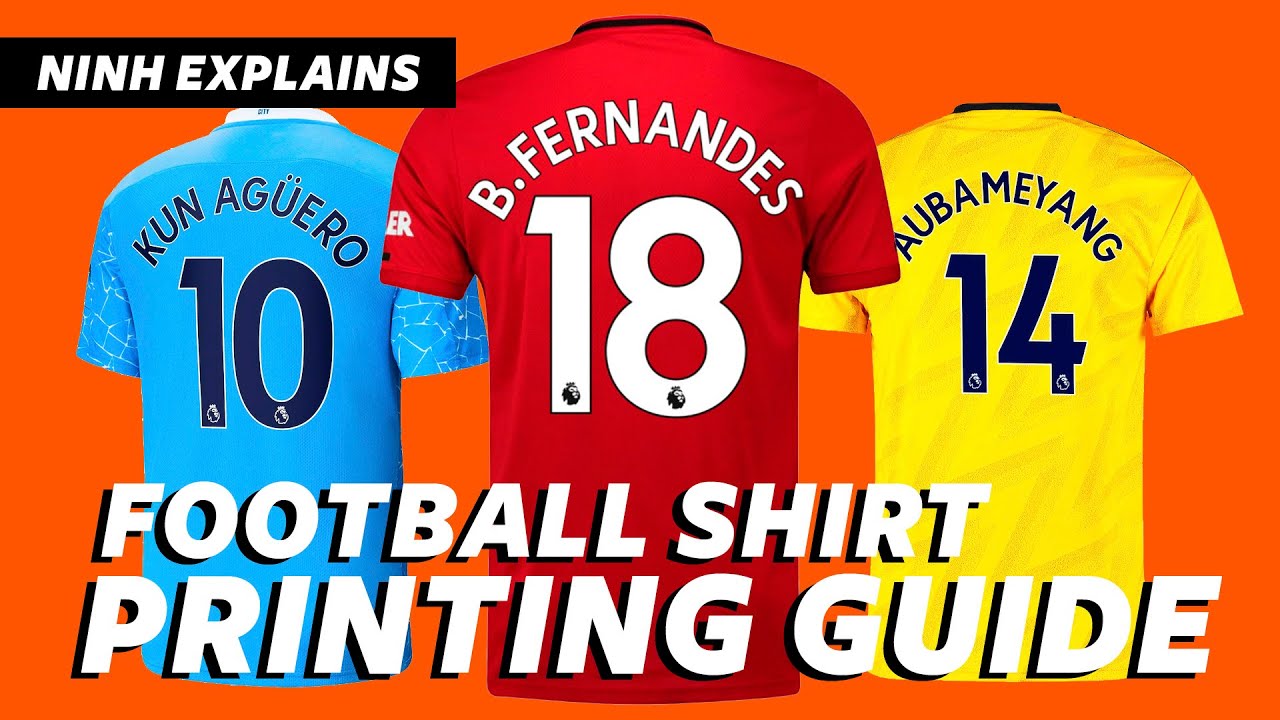
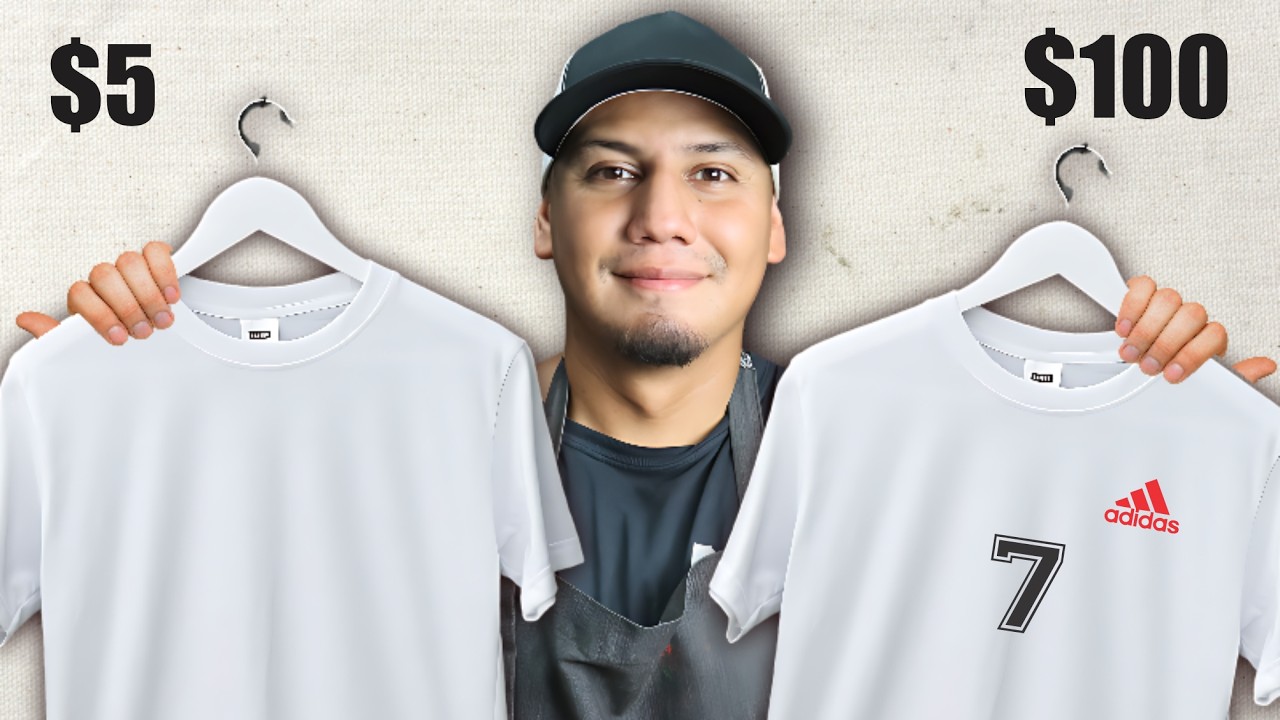
So last weekend I thought, why not try printing some custom soccer shirts? My kid’s team needed matching outfits, and professional printing costs way too much. Figured I’d document this adventure step by step.

Getting Started with Basic Supplies
First, I grabbed a blank white jersey from my closet – the cheapest cotton kind. Went to the local craft store and bought heat-transfer vinyl sheets in blue and gold, plus some transfer paper. Didn’t know what I was doing honestly!
Found this old cutter my mom used for scrapbooking. Hooked it up to my laptop and opened Inkscape (free software btw). Drew a simple soccer ball shape and typed “RAPTORS” in block letters. Pro tip: mirror your design! Learned that the hard way later.
The Tricky Part: Cutting and Pressing
- Loaded the vinyl shiny-side-down into the cutter
- Watched it struggle on curves – adjusted blade depth like 5 times
- Picked out tiny vinyl pieces with tweezers – took forever!
- Preheated my clothes iron to MAX (cotton setting)
Laid the transfer paper on the jersey and ironed hard for 30 seconds. Peeled it off slowly… and half the letters came off with it! Messed up the “O” completely. Felt like giving up right there.
Fixing Mistakes Like a Boss
Scratched off the ruined vinyl with my fingernail. Cut replacement letters while watching tutorial videos. Tried again with less heat but more pressure – pressed down like I was doing CPR! This time it worked! The gold vinyl looked kind of cheap but whatever.
Ended up with one decent shirt after three hours. Kid wore it to practice and teammates actually asked where I bought it. Might ruin it in the wash next week though.

