
Man, I gotta tell you, for the longest time, I thought I was just cursed when it came to wearing hats. Specifically, the gorgeous, soft, but deceptively tricky merino wool beanie. You know the ones—they look effortlessly chic on every model in the catalog, but when I pulled one onto my own head, I instantly looked like a six-year-old bundled up for a forced playdate or, worse, an egg with a slightly textured shell.
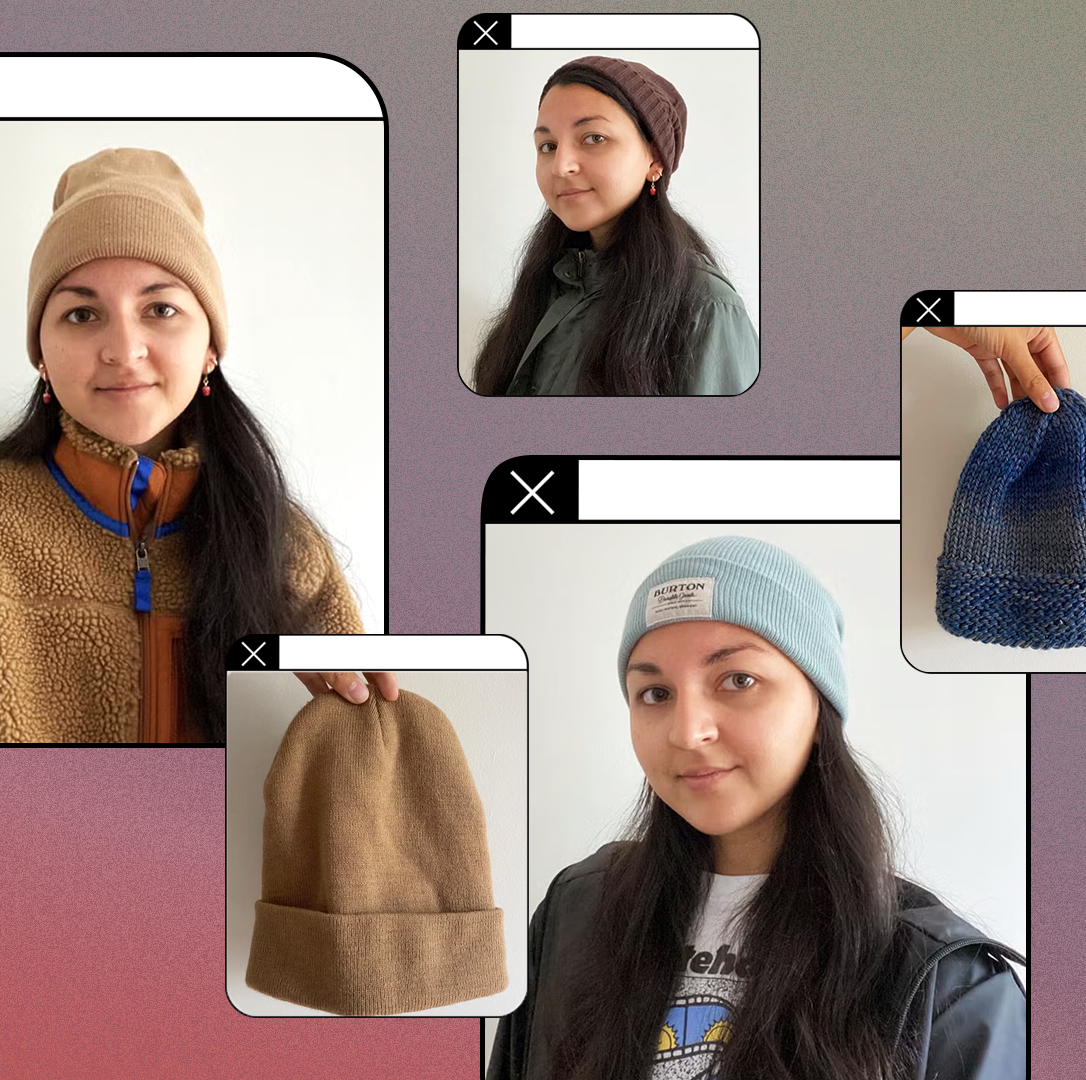
I started noticing this ridiculous discrepancy last winter. I had splashed out serious cash on three high-quality merino beanies—one deep navy, one charcoal gray, and a bright cream one. I figured they were the ultimate cold-weather accessory. But every time I tried to wear them out, I ended up ripping them off my head before I even hit the front door. They just sat wrong. They either swallowed my face whole, made my head look huge, or just slipped down over my eyes in that pathetic “I give up” way.
My biggest frustration was the sheer lack of actionable advice out there. Everyone just says “wear it with confidence!” Yeah, thanks, Captain Obvious. Confidence doesn’t fix a hat that’s sitting three inches too high and making you look like a bobblehead doll.
So, I decided to treat this like a serious project. I dedicated three solid weekend afternoons to nothing but standing in front of my full-length mirror, documenting every single fold, tug, and tilt of those three hats. I pulled out my phone, started timing myself, and literally logged what failed and what miraculously didn’t.
The goal wasn’t just to wear the hat; the goal was to wear the hat fashionably, meaning it needed to look deliberate, not accidental. It needed to frame my face, not hide it. I must have yanked, smoothed, crumpled, and stretched those poor beanies hundreds of times. My head was practically sweating from the effort, but I wasn’t quitting. This was about cracking the code.
After all that obsessive trial and error, I finally distilled the success into three incredibly simple steps. It wasn’t about the hat; it was about the setup. Here are the three secrets I uncovered and now practice religiously every time the temperature dips.

The Practice Record: 3 Secrets to Styling a Merino Hat
Secret 1: The Anchored Brim and the Back Tuck
This was the biggest game-changer. My initial mistake was pulling the hat straight down to my eyebrows, trying to anchor it like a ski mask. That’s why I looked like an egg. Merino wool is soft and stretchy; you don’t need to jam it on.
- The Initial Placement: I learned to first position the front brim roughly halfway up my forehead, slightly above the natural hairline. This keeps the eyes open and stops the “hat-swallowing-face” problem.
- The Crucial Anchor: Instead of letting the slack material flop down over the back of my neck, which looked sloppy, I had to grab all the excess fabric at the crown (the top center of the hat). I gently, but firmly, pushed the bulk inward and upward, creating a slight backward slope, and then immediately tucked the remaining edge under itself at the nape of the neck.
- The Result: This creates a clean, defined back line that stops the hat from creeping backward during the day. It provides the “anchor.” It looks structured, not messy. I spent 45 minutes just practicing this tuck until it became muscle memory.
Secret 2: The Texture Contrast Rule
This is less about the hat and more about what’s below it. I kept trying to pair my super soft merino hat with my cashmere scarf and my smooth, felted wool coat. Disaster. Too much softness makes you look bulky and undefined.
I started pulling out my roughest textures. I slapped the soft navy hat next to my chunky denim jacket, or I wore the creamy hat with my stiff, high-collared leather jacket. The difference was night and day. The soft merino texture needs something rougher or more structured to bounce off of.

- Pairing Protocol: If the hat is ultra-soft merino, the coat or scarf must have a strong, visible texture or sharp lines. I tested pairing the hat with my heavy twill trench coat. Success. I matched it with my ridged corduroy blazer. Absolute success.
- The Visual Pop: The key action here is ensuring the fabric below the hat holds its own shape. If the collar of your coat collapses, the hat will look sad too. I found myself deliberately popping the collar up slightly, even just a half-inch, to provide a firm, structured line right below where the hat ends.
Secret 3: The Face-Framing Fringe Pull
If you don’t have heavy bangs, this is the part you absolutely cannot skip. I initially wore the hats with all my hair pulled back into a low ponytail, thinking it would look clean. It looked bald. It made my forehead look enormous.
The solution is simple, but requires intentional action: you must pull out hair to frame your face, no matter what length it is.
- The Strategic Pull: Before putting the hat on, I learned to isolate two small sections of hair, one on each side, right next to my temples. They need to be substantial enough to feel them, but not so thick that they look like pigtails.
- The Hat Application: I then slipped the hat over my head carefully, making sure those two face-framing sections were left completely outside the hat, hanging down loosely.
- The Final Adjustment: I then tucked the rest of my hair low at the back. I use a slightly curling iron on those two front strands to give them a little wave or bend so they don’t look too stiff. This immediately softens the hard line created by the hat across the forehead and makes the entire look appear planned. It takes the focus away from the hat’s bulk and puts it on your eyes.
The Unexpected Realization
Honestly, the amount of effort I put into figuring out how to wear a knitted cap sounds insane when I write it down. I mean, it’s a hat. But this little project taught me something important about how I approach things.
When I first started trying to style these hats, I felt intimidated, like fashion was some secret language that everyone else spoke fluently, and I was just mute. I felt dumb for struggling with something so basic.

But when I stopped trying to be effortlessly cool and just started being methodical—standing there, sweating, adjusting, and documenting—I realized that nobody is just “naturally good” at these things. They either figured out the mechanics by accident, or they put in the reps. Most people just don’t have the guts to admit they spent an hour staring in the mirror just to figure out where to place a brim.
The victory here wasn’t just having a cute hat outfit; the victory was proving that any style problem, no matter how trivial, can be solved by breaking it down, practicing the mechanics, and then sticking to the script. Now, when I grab my merino hat, I don’t think about confidence; I think about the anchored tuck and the texture clash, and it works every time. It’s a process, not a prayer.