
Alright friends, today I finally dug into setting up that new gogoal cam I bought last week. Been sitting on the shelf, taunting me. Figured I’d just dive in and see how much head-scratching it would cause. Spoiler: it wasn’t too bad, but definitely had a few “uh, what now?” moments.

Ripping Open the Box Like a Kid
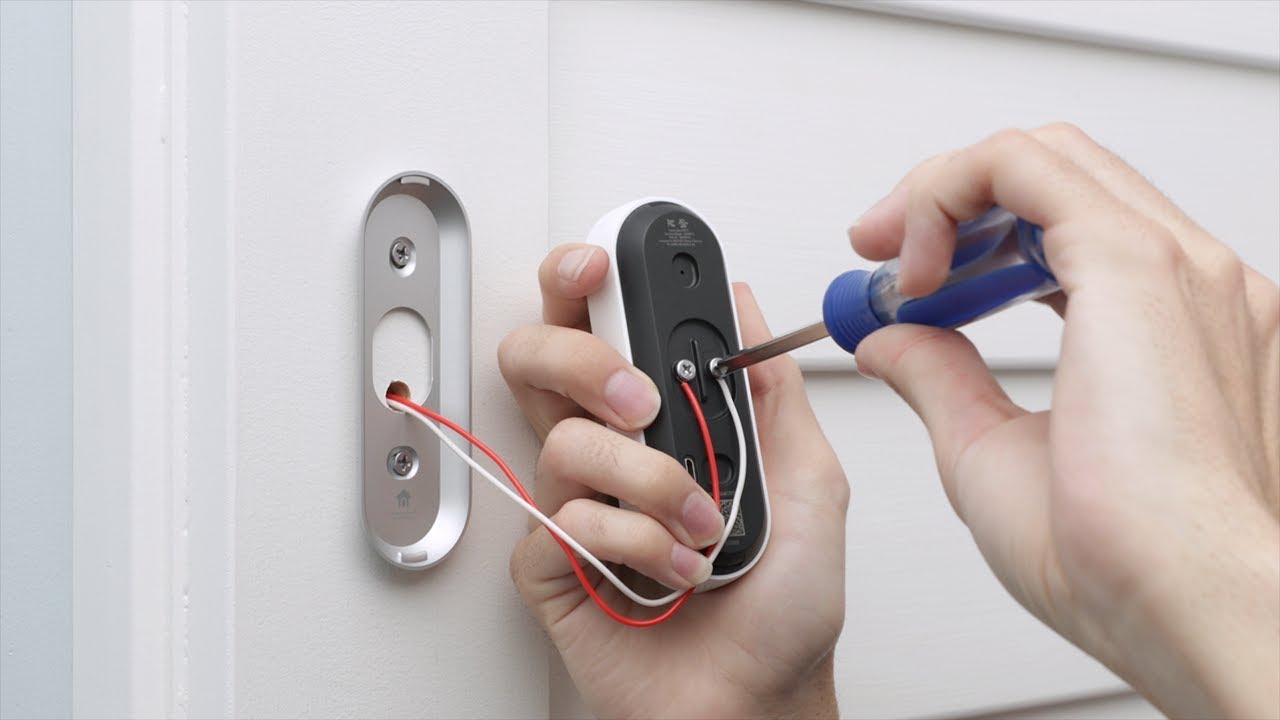
First things first, tore into the box. Was actually pleasantly surprised. Found the little camera itself, a short USB charging cable, a basic wall plug, this kinda flimsy mounting bracket thing, and a tiny baggie with screws and a sticky pad. Felt like everything was actually there, which is a miracle these days. Manual was laughably thin, just a few folded sheets. Typical.
Finding a Spot to Stick It
Wandered around my living room looking for a decent spot. Didn’t want it staring right at the neighbors window, you know? Settled on a corner shelf that gets a decent view of the room and the front door. Wiped the dust off first. The mounting base has this little ball joint. Attached the sticky pad firmly, then kind of awkwardly wrestled the camera onto it until it clicked. Tightened the little screw on the side so it wouldn’t droop overnight.
Time for the Real Fun: The App
Grabbed my phone. Opened up the App Store. Searched for the app name mentioned in the skinny manual. Found it – some generic “Smart Home Cam” app. Hit download, waited a minute, then opened it. Created a new account (cue the password struggle: “SomethingSecure123? Nah… How about SecureC@m2024? There we go”). Logged in. Home screen felt empty. Searched for the big ‘+’ button to add a device. Found it.
Saw a whole list of camera types – scrolled down like, “Ugh, so many… where is mine?” Finally spotted the model number. Selected it. App immediately started yelling at me: “Make sure your phone is connected to your home WiFi! Switch to 2.4GHz!” Right, almost forgot. Turned off my 5GHz connection so my phone was only on the slower 2.4GHz band – seems the camera hates 5GHz.
The Wi-Fi Tango and Blinking Lights
App told me: “Plug the camera in NOW! Listen for the voice prompt!” Okay, okay. Jammed the USB cable into the back of the camera and plugged it into the wall. Camera groaned to life, little blue light started flashing fast. Then a robotic lady voice blurted out something like “Ready for network configuration!” Sounds important.
Back on the phone, app was prompting me for my Wi-Fi password again. Typed it carefully. Then it popped up a QR code on my phone screen. Held the phone super close to the camera lens. Heard a little “beep beep!” from the camera. Saw the blue light on the camera change from frantic flashing to a slow, steady blink. Progress!
App showed this spinning wheel: “Connecting to device…” Held my breath. Took a good 30 seconds. Then… “Device Added Successfully!” Little victory dance happened right there in the living room. The blue light turned a solid blue on the camera. Done!
Testing the Goods
App finally showed me the camera feed! Fuzziness at first, then it cleared up. Picture looked decent. Tested the microphone icon – yelled “Testing one two!” and heard a slight echo on the two-way audio. Cool! Panned the camera around using the controls on the app – it swung left and right smoothly. Found the settings gear icon, messed with video quality (set it to High), and set up motion zones so the cat tripping over things wouldn’t trigger notifications constantly.
Job Done! (Mostly)
So yeah, all in all, took maybe 15-20 minutes start to finish. Sticking it where I wanted and figuring out the app dance were the main steps. The QR code trick for Wi-Fi is always a bit weird but worked. Just gotta remember that 2.4GHz Wi-Fi thing – that’s the killer! Now to see if it survives the cat knocking it off the shelf…