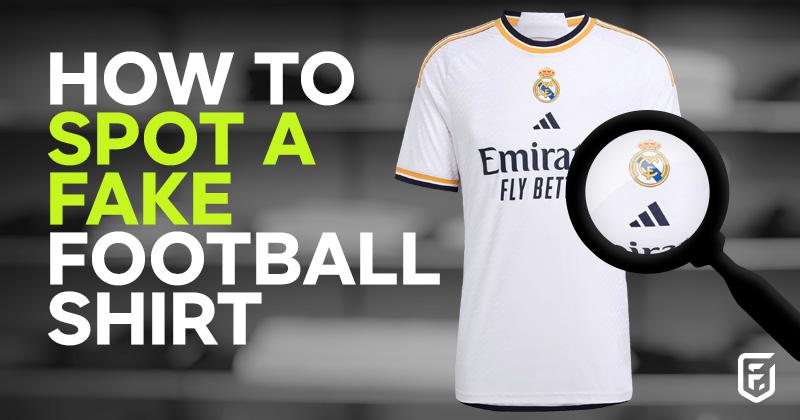
Man, I got absolutely burned. I’m talking full-on fleece job. That whole mess is exactly why I dug deep and started logging everything about spotting fake Real Murcia gear. Honestly, if you don’t know the signs, these knock-off merchants will clean you out, and you’ll end up with total garbage.

The whole thing started when I tried to score a specific, rare centenary jersey for my mate, Leo. He’s obsessed with the history, and I saw one pop up online. Looked pristine in the photos. The seller had a decent rating, seemed above board. I thought, “This is it. I’m winning Father of the Year for gifting my best mate this relic.”
I shelled out big money. Not just twenty quid, we’re talking serious collector cash. I even paid extra for fast shipping because I was so hyped. When it landed, I ripped the box open right there in the hallway. At first glance, it looked okay. But the moment I pulled it out, something felt wrong. The material felt thin, cheap, almost like that nasty, shiny poly stuff you get in dollar stores. But I told myself maybe that’s just how old jerseys were.
I drove it straight over to Leo’s place. The minute he held it, he didn’t even have to look closely. He just held it by the collar, let it flop, and then looked at me. “Dude. You got hammered.”
I tried to argue. I pointed out the label, the color scheme. But Leo, bless him, just sighed and walked over to his display case. He pulled out two legitimate pieces from the same era. We spread them out on the kitchen table. Next to the real ones, my “centenary item” looked like a bad photocopy. The colors were slightly off, the cut was clumsy, and the stitching… oh man, the stitching was a total washout. That was the first clue, but it took Leo pointing it out for me to realize how blind I’d been.
I felt like an absolute idiot. It wasn’t just the money; it was the humiliation of thinking I’d scored a treasure and realizing I bought a fifty-dollar counterfeit for five hundred bucks. I spent the next two weeks absolutely consumed, trying to track down the source, trying to get my cash back, and mostly, trying to figure out how to never let this happen again.
My quest for redemption took me deep into the collector forums, past the usual BS, and eventually to a couple of old-school collectors who used to handle merchandise for the club decades ago. These guys didn’t use fancy jargon; they just knew the gear cold. I met this guy, Javier, who runs a small, almost hidden shop downtown. I brought my fake item, and he laughed, but then he sat me down and showed me the three things that never lie.
The Escudo is Everything: Feel the Details
Javier told me straight up, the first thing fakers mess up is the crest, the escudo. They use cheap embroidery machines that just cannot handle the fine detail. I learned that you don’t just look at it; you have to touch it.
- Tip 1: Examine the Edge Definition and Thickness. A real Murcia escudo, especially embroidered ones, is dense. The threads are packed tight. On the fake one I bought, the thread count was low, and if you ran your finger over the edge, it felt mushy, not sharp. Javier showed me how the gold detail on the crown of the real crest should actually stand slightly proud of the rest of the badge, giving it a 3D, almost sculpted feel. My fake? It was flat, like a patch ironed onto a dishcloth. He taught me to look for clean, precise lines where colors meet—no bleeding, no overlap, ever.
The Tags Are Your History Book: Location and Font
I always thought tags were just annoying things you cut off. Nope. Javier said the tag is the item’s ID card, and counterfeiters are lazy. They either use generic tags or print them badly. He made me check two specific things.
- Tip 2: Verify the Placement and Stitching. Official Murcia items always follow extremely rigid placement rules for the main neck tag and the wash tags. On jerseys, the tag often has specific security stitching—sometimes a double stitch line in a specific color—that knock-offs skip because it costs them extra time. More importantly, he showed me the font. Fakers often use a generic, slightly incorrect font size or weight. We spent fifteen minutes just comparing the ‘M’ on my fake tag to the real ‘M’ on his item. Mine was too thin; it was a dead giveaway once you knew what you were looking for. If the stitching holding the tag in is sloppy or looks like it was sewn on by hand, walk away.
The Hand-Feel Test: Quality Never Lies
This is the most straightforward but often overlooked check. Real merchandise, even if it’s twenty years old, was made with materials that met certain club standards. Fakes are always, always about cutting costs.
- Tip 3: The Weight and Drape. Javier had me hold the real scarf and the fake one in each hand. The real one had a satisfying weight to it and felt supple. It draped naturally. My fake scarf was rigid, too light, and felt cheap, almost stiff, like the low-quality polyester junk. He pointed out that if it’s a modern item, look for the specific feel of the technical fabric—the real stuff wicks moisture and feels cool. The fake stuff just feels sweaty and plastic. For scarves or knit items, check the fringes; they should be uniform and tightly finished. My fake’s fringes were frayed before I even took it out of the box.
Now, every time I buy anything, I run through this checklist before I even pull out my wallet. I don’t just look at the photo anymore. I grill the seller about the thickness of the crest stitching and demand close-ups of the wash tags. Learning these three key tips from Javier didn’t just save me from getting scammed again; it turned me into the guy who can spot a fake from ten feet away. It was a painful way to learn, but I wouldn’t trade that knowledge now. Stick to these three points, and you won’t get burned like I did.