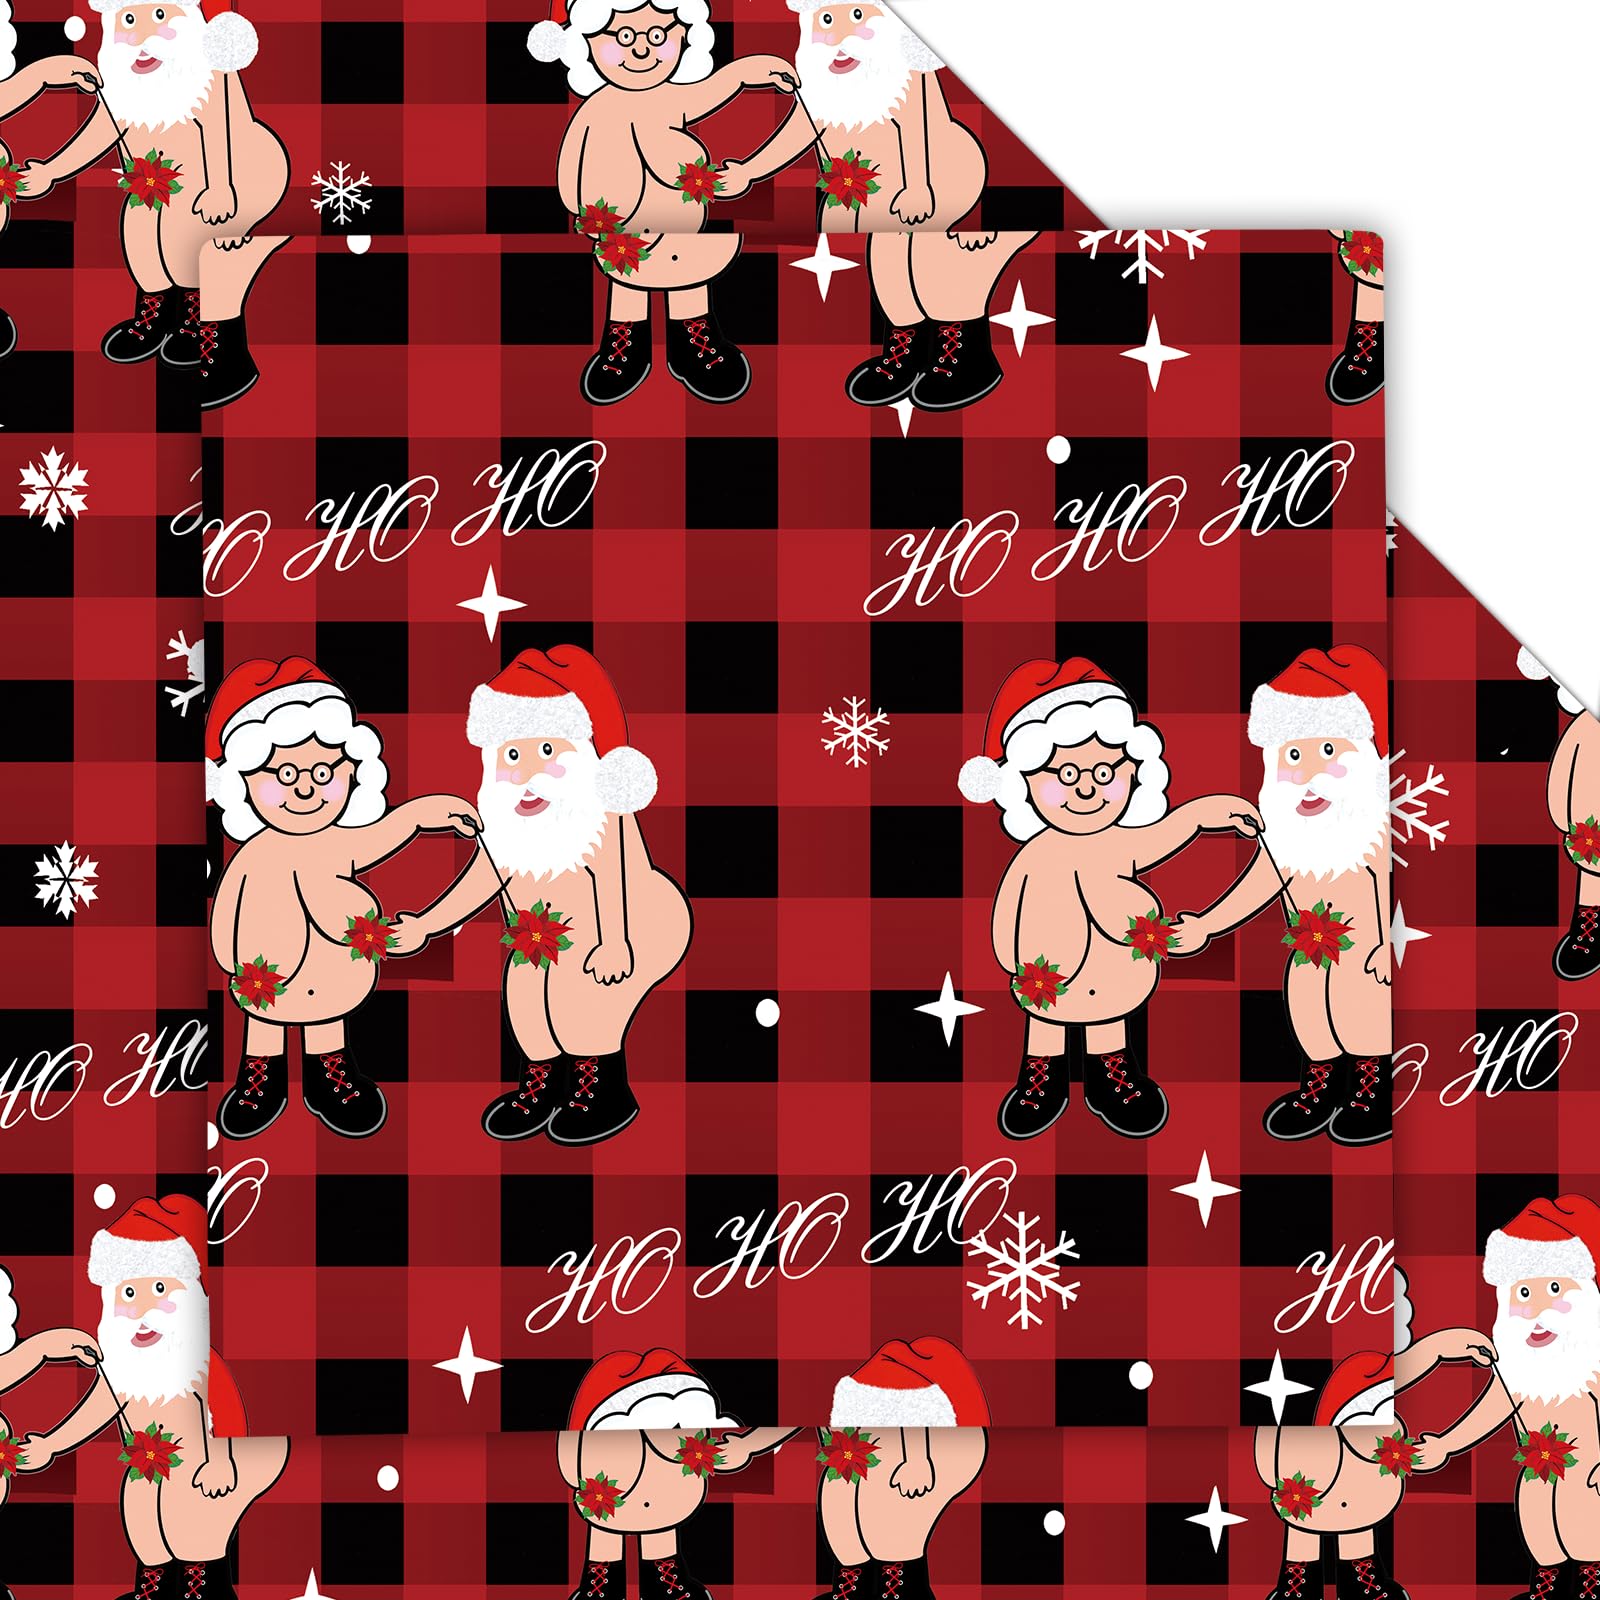
Okay, so I saw this “naughty wrapping paper” thing going around, and I figured, why not? I gotta wrap some gifts anyway, might as well have a little fun with it. So here’s how my little adventure went.
First, I gathered my supplies. Obviously, I needed wrapping paper. I went with a plain, solid color – I think it makes the “naughty” part stand out more. I also grabbed some scissors, tape, and the gifts themselves. Nothing too crazy, just some regular boxes.
The “Naughty” Part
This is where things got interesting. I decided to go with some simple, suggestive shapes. You know, the kind that make you do a double-take. Think strategically placed curves and… well, you get the idea. I’m not an artist, so I kept it pretty basic.
I used a black maker to made shapes, and my bad drawing made even funnier.
- First, I lightly sketched the shapes onto the wrapping paper with a pencil. This way, I could erase any mistakes.
- Once I was happy with the sketches, I went over them. I tried to make the lines bold and clean, but it’s harder than it looks!
- Then, I carefully cut out the shapes. This was probably the trickiest part, because I didn’t want to tear the paper.
After the shapes were cut out, I wrapped the gifts as usual. I made sure to position the cut-outs in, ahem, strategic locations. The key is to make it subtle enough that it’s not immediately obvious, but noticeable enough to get a reaction.
Finally, I added some ribbon and bows. I figured this would add a touch of class to the whole “naughty” presentation. Plus, it helps to distract from the, uh, more interesting parts of the wrapping.
And that’s it! My “naughty wrapping paper” project was complete. It was a fun little experiment, and I think it’ll definitely get some laughs. It is a little bit silly, and I can say I had fun doing this.