Okay, so the other day I saw this recipe for Pavlova made in a slow cooker. I was like, “No way, that sounds crazy!” But I was also super curious, you know? So, I decided to give it a shot. I mean, who doesn’t love a good Pavlova, all crispy on the outside and marshmallow-y on the inside?
Getting Started
First things first, I gathered all my ingredients. You know, the usual suspects: egg whites, caster sugar, a little bit of cornstarch, some white vinegar, and vanilla extract. Nothing too fancy.
- Egg whites
- Caster Sugar
- Cornstarch
- White vinegar
- Vanilla extract
I prepped my slow cooker. I lined the bottom with a circle of baking paper, making sure to grease it up really well. Nobody wants a stuck Pavlova!
The Mixing Process
Next up, I whipped the egg whites until they were all stiff and glossy. Took a little while, but my trusty hand mixer did the job. You gotta make sure they hold their shape, you know? That’s how you get that nice, fluffy texture.
Then, I gradually added the sugar, bit by bit, while the mixer was still going. This part is important, you don’t want to dump it all in at once. We’re aiming for a smooth, glossy meringue, not a grainy mess.
Once the sugar was all in, and the meringue was looking fabulous, I folded in the cornstarch, vinegar, and vanilla. Gotta be gentle here, we don’t want to knock all the air out. The cornstarch helps with the chewy texture, and the vinegar and vanilla, well, they just make it taste good!
Slow Cooking Magic
Now for the slow cooker part! I carefully spooned the meringue onto the baking paper in the slow cooker, making a nice, big circle. Then, I popped the lid on, but I propped it open a little bit with a wooden spoon. This is key – it lets the moisture escape so the Pavlova can dry out properly.
I set the slow cooker to high, and then… I waited. This recipe said it would take about 2 hours, but honestly, it’s best to just keep an eye on it. You want it to be firm and dry to the touch.
The Finishing Touches
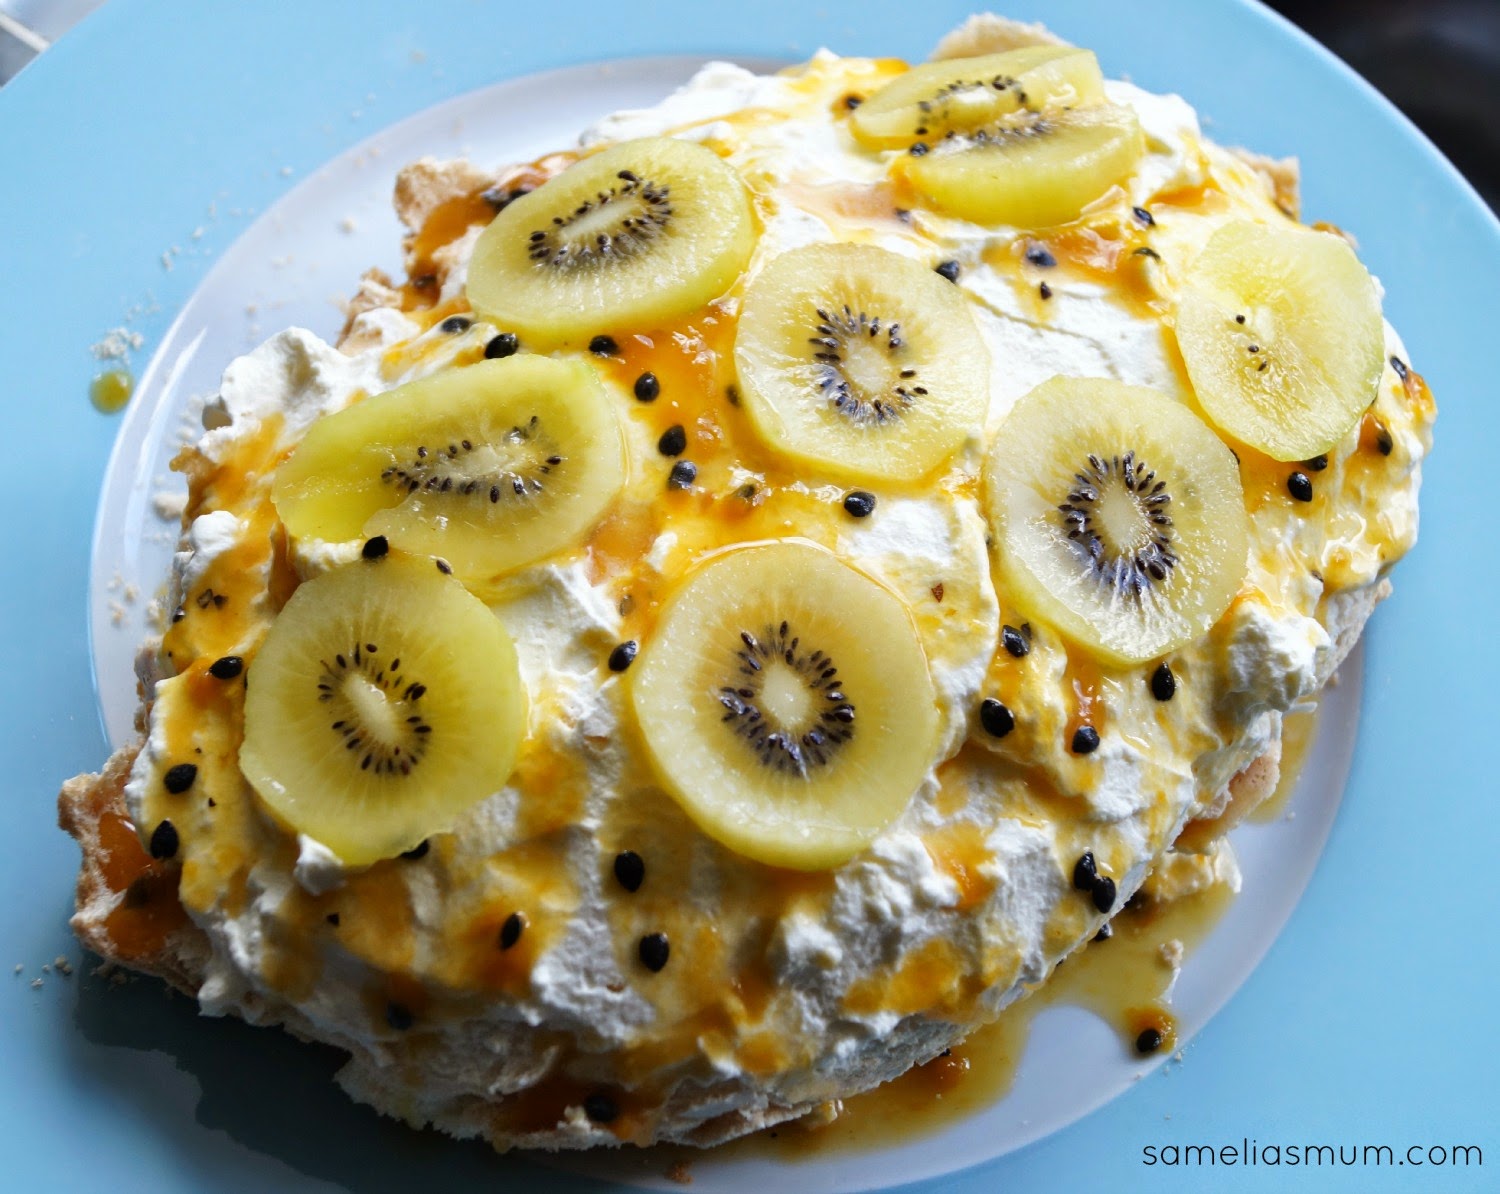
After a couple of hours, I turned off the slow cooker and let the Pavlova cool completely inside. Again, patience is key! Once it was cool, I carefully lifted it out. It wasn’t perfect, but it definitely looked like a Pavlova!
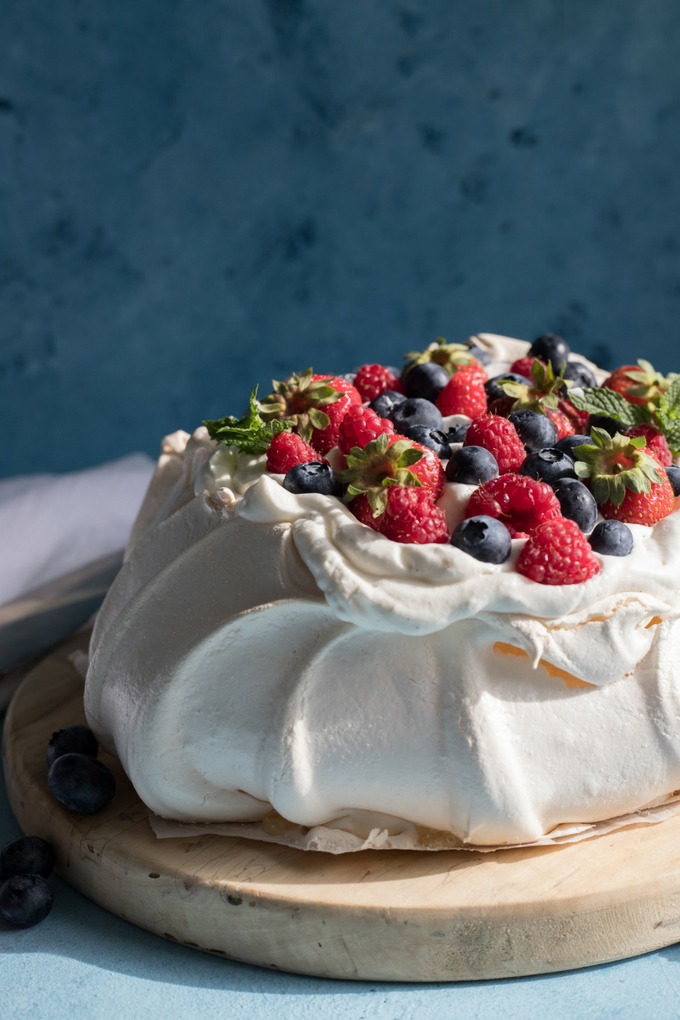
Of course, a Pavlova isn’t complete without toppings. I whipped up some cream and piled it on top, then added a bunch of fresh berries. Strawberries, raspberries, blueberries – the more, the merrier!
The Verdict
So, how did it taste? Pretty darn good! It was definitely different from a traditional oven-baked Pavlova. It was a little bit more…dense, maybe? But still had that lovely crispy outside and soft inside. And hey, it was made in a slow cooker! That’s pretty cool, right? I will do it again next time.