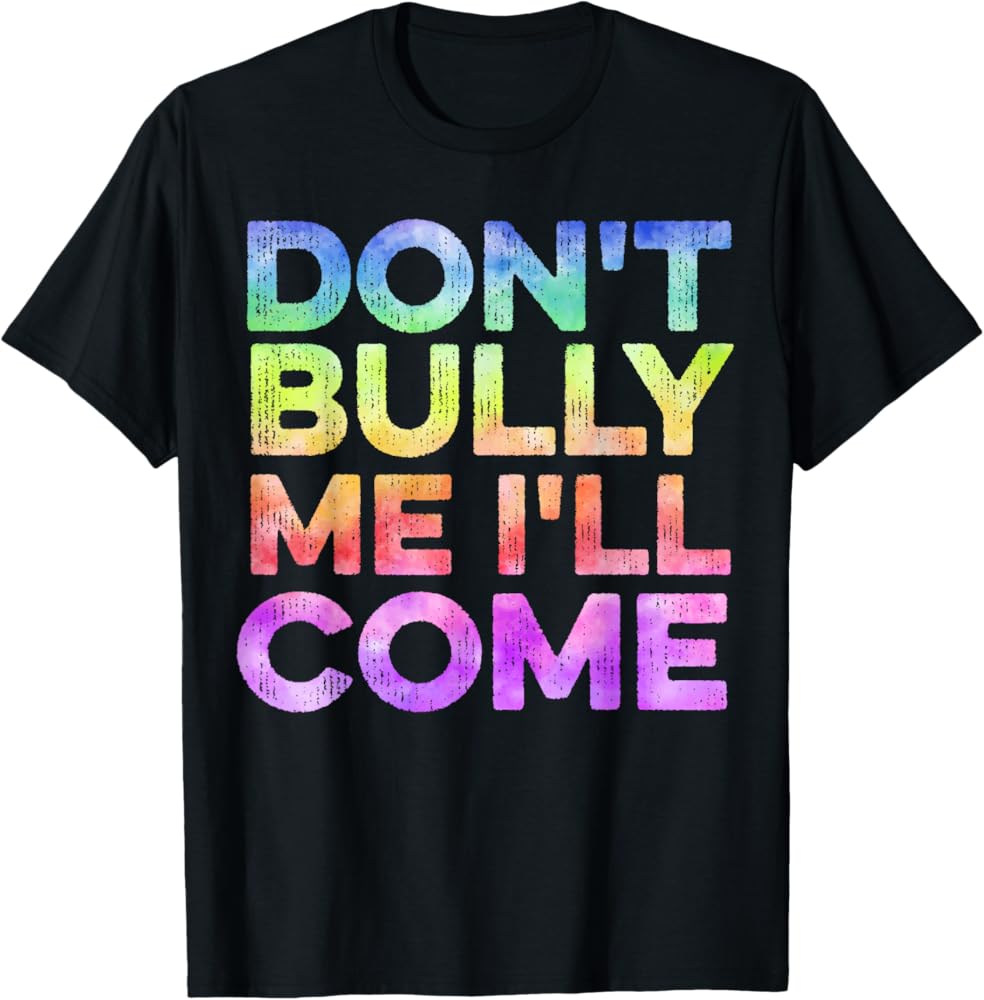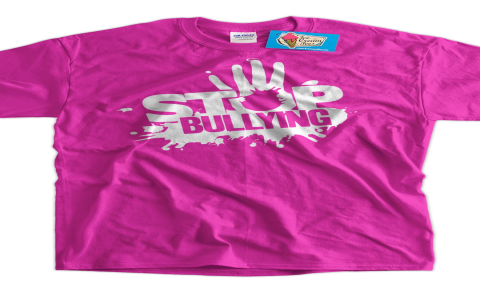
Okay, folks, let’s dive into my little project from the other day – making a “Don’t Bully Me” t-shirt. I’ve been seeing these anti-bullying messages everywhere, and I thought, “Hey, I can totally make one myself!” So, here’s how it all went down.
Brainstorming and Design
First things first, I needed a design. I didn’t want anything too complicated, just something clear and bold. I grabbed a piece of paper and a pencil – yeah, old school, I know – and started sketching.

I played around with different fonts. Big block letters? Something a bit more… stylish? Nah, I went for simple and strong. I wanted the message to be loud and clear.
Gathering Supplies
Next up, supplies. Here’s what I rounded up:
- A plain white t-shirt: Got this from a local store. I don’t perfer anything fancy.
- Fabric markers: I went with black, classic and easy to read.
- Cardboard: To put inside the shirt so the marker wouldn’t bleed through.
- Ruler: To keep my letters somewhat straight.
- Pencil: for sketching.
Getting to Work
Alright, time to get hands-on. I slipped the cardboard inside the t-shirt. This is super important, or you’ll end up with ink on the back of your shirt, and nobody wants that.
Then, I lightly sketched out the words “Don’t Bully Me” on the shirt with a pencil. I used the ruler to make sure the lines were kinda even… I’m not perfect, okay?
After I had the words placed, I went over them with the fabric marker. Nice and slow, trying to get solid lines. I had to do a couple of coats to make the black really pop.
The Finishing Touches
Once the marker was dry (I gave it a good few hours, just to be safe), I carefully removed the cardboard.
And… that was pretty much it! A super simple, but hopefully impactful, “Don’t Bully Me” t-shirt. It’s not gonna win any design awards, but it gets the message across. And hey, I made it myself, which is pretty cool.
I’m think I wear it proudly, and maybe it’ll even start a conversation or two. Who knows? Anyway, that’s my little DIY project for the week. Hope you enjoyed it!